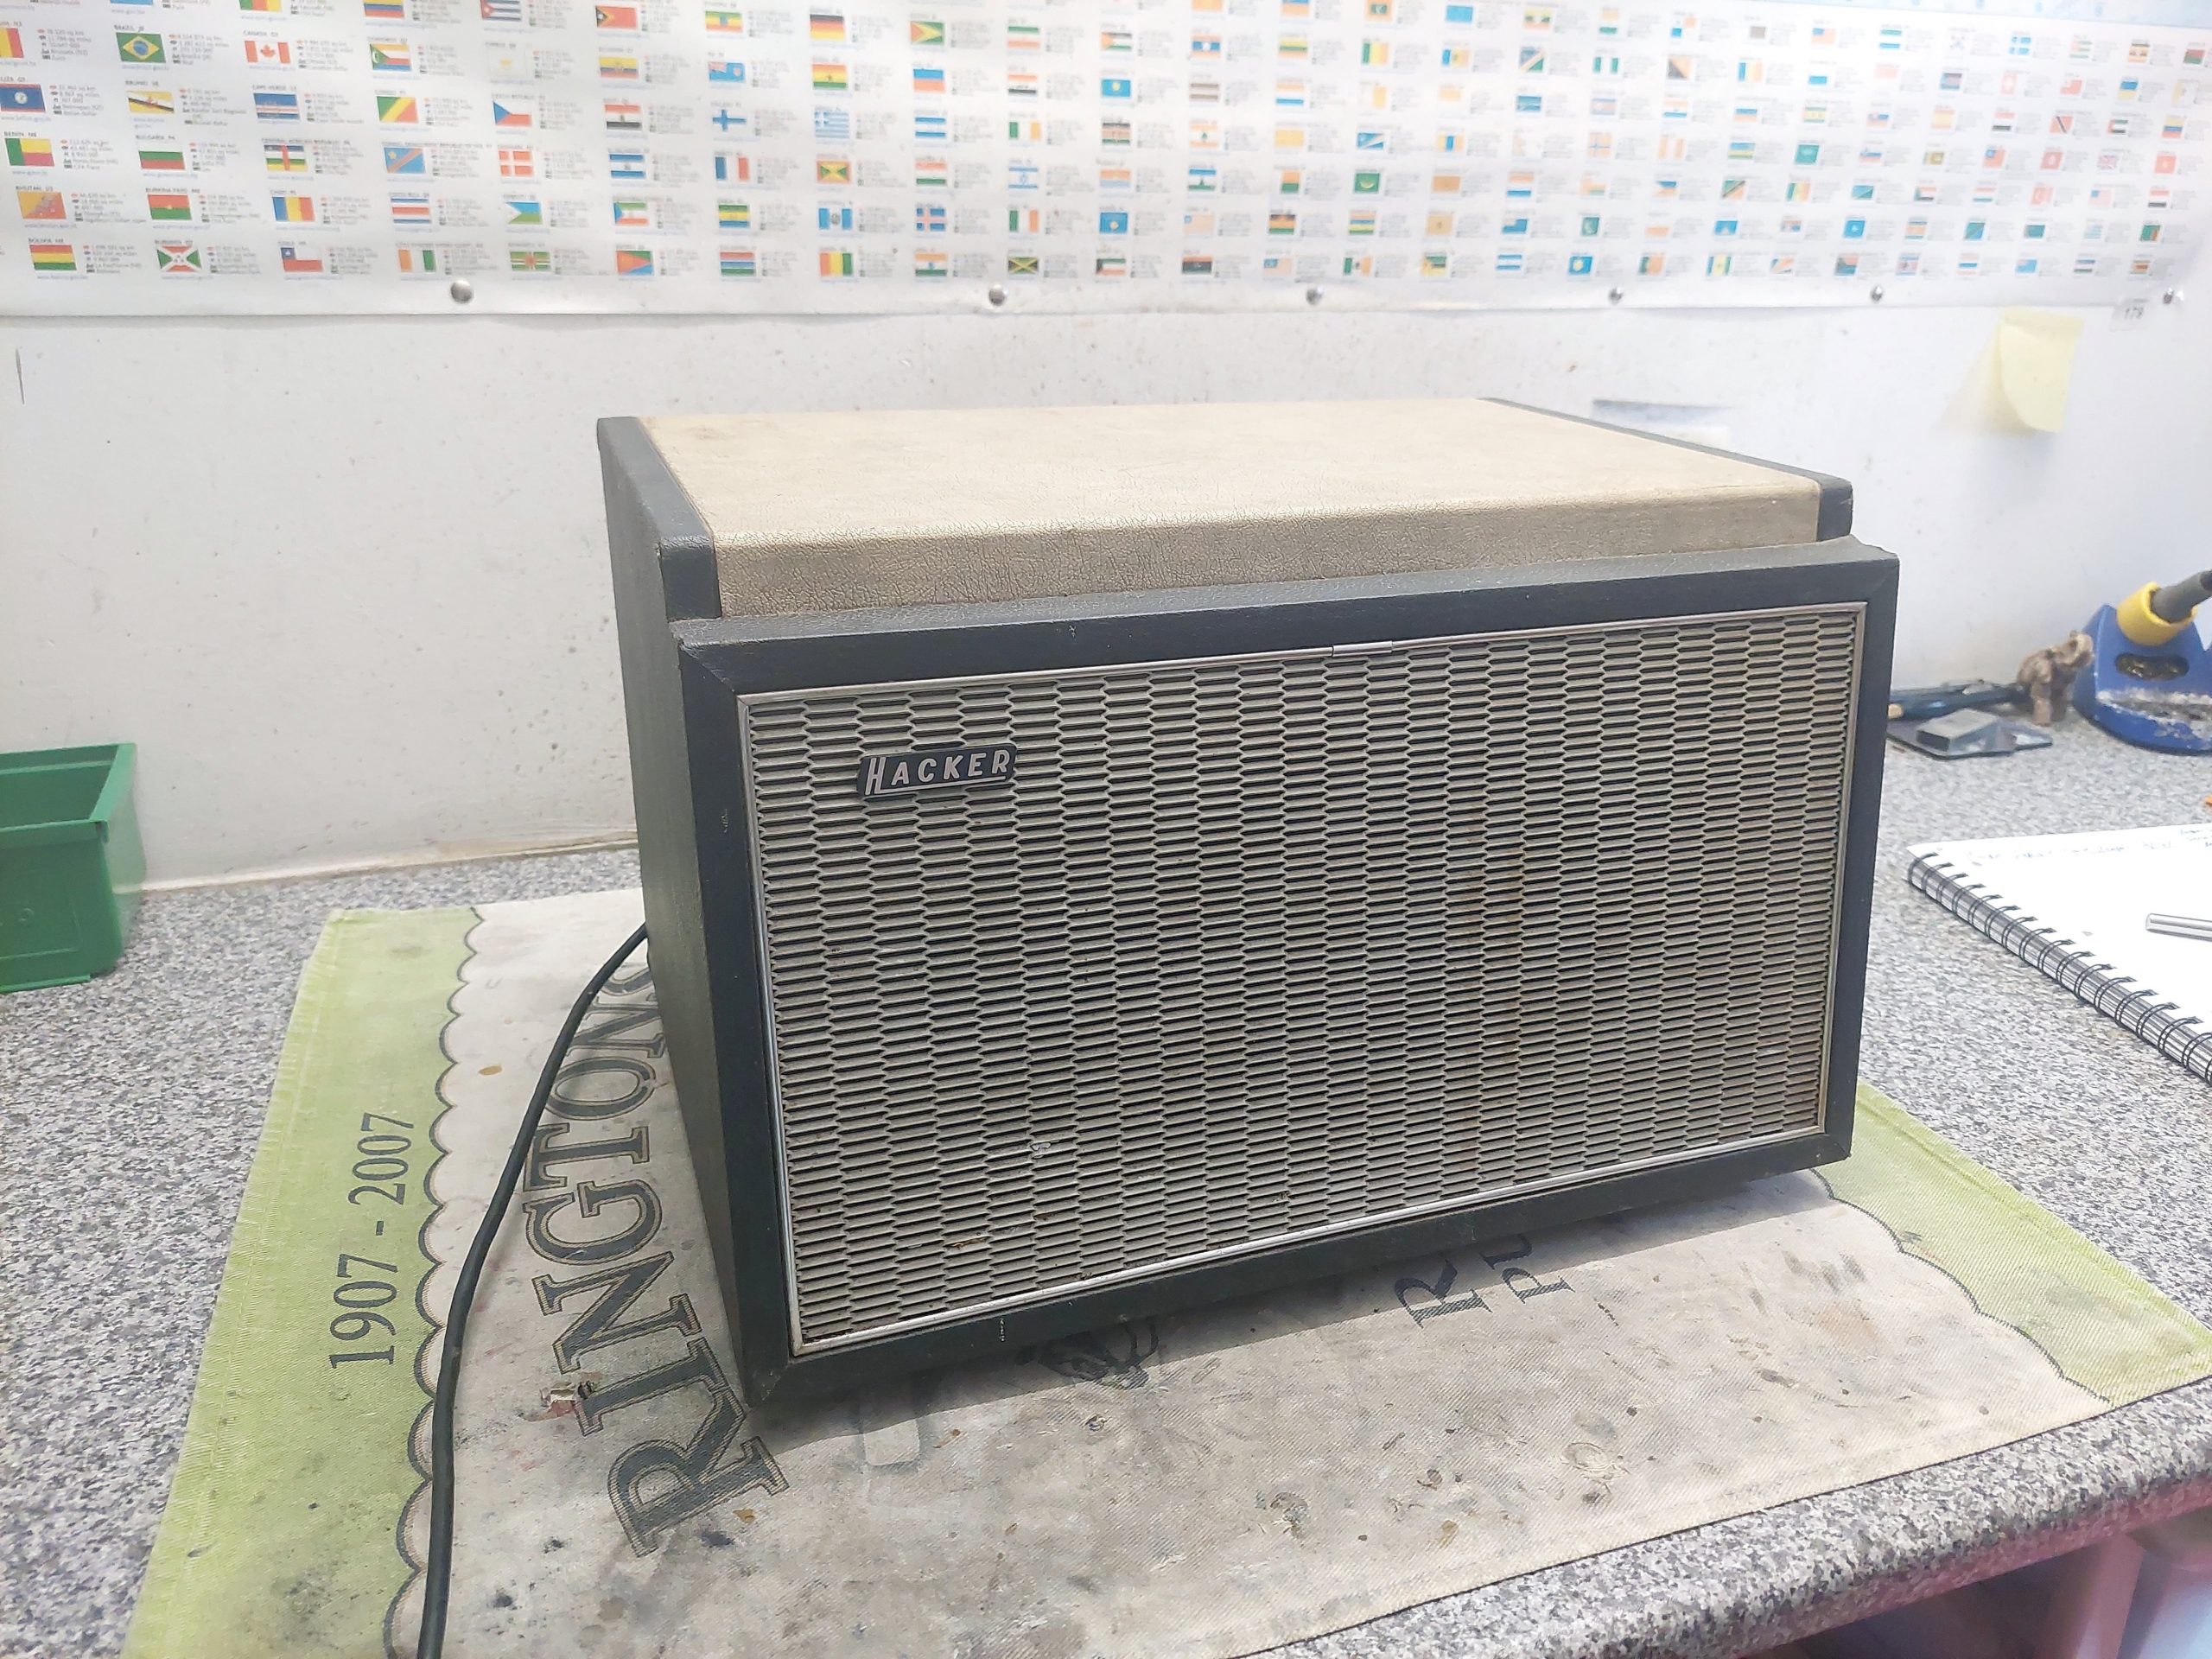
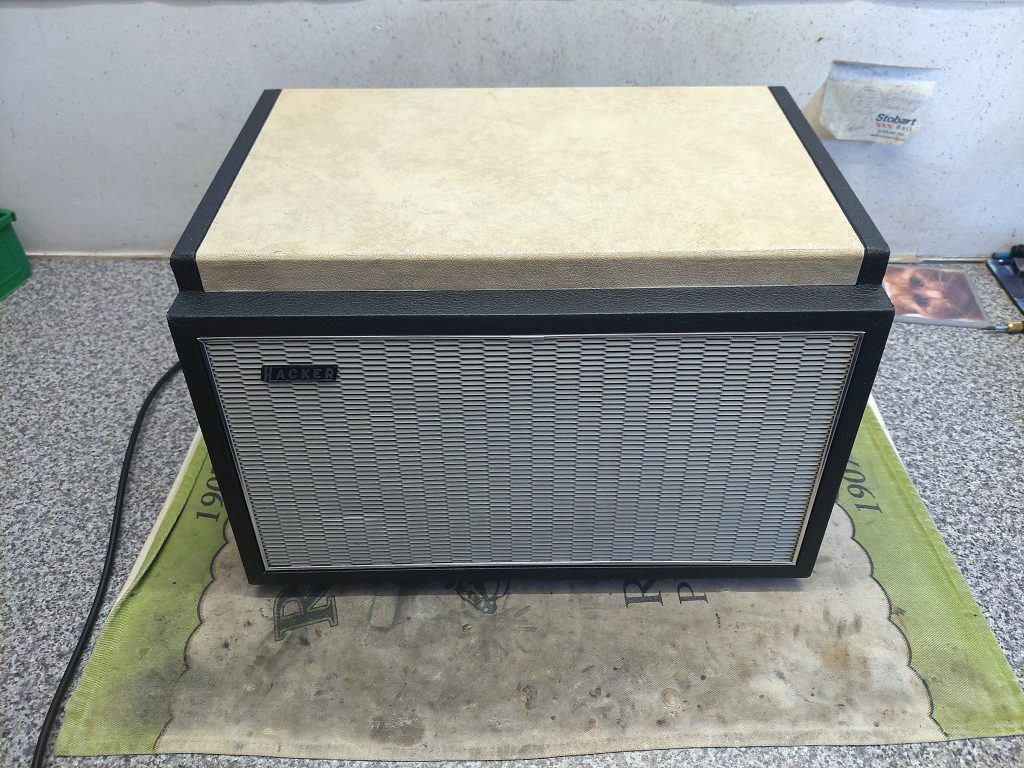
The Hacker AL42 was designed to be a matching stereo extension speaker for the Hacker GP42 ‘Gondolier’ record player. It also can be used as a standalone high quality mono amplifier.
Throughout the late ’50s until the early ’70s, it was common for record player manufactures to offer an extension speaker which let buyers convert a compatible mono player to stereo operation.
Usually, these extension units can be hard to find (though not impossible) as they sold few of them compared to the main record player unit.
The main driver of this was price. In the late ’60s a single play GP42 cost £37/6/0 and the AL42 cost £17/17/0. That’s £55/3/0 altogether. You can see why some customers didn’t bother!
All you needed to setup your GP42 for stereo was an AL42 extension speaker, a special stereo lead, a stereo phono cartridge and of course, stereo records!
Despite being called ‘stereo extension speakers’ these were not just a separate speaker in a cabinet like what you had with radio extension speakers of the past. They were fitted with their own amplifier which was identical to main unit.
Anyway, on to the restoration:
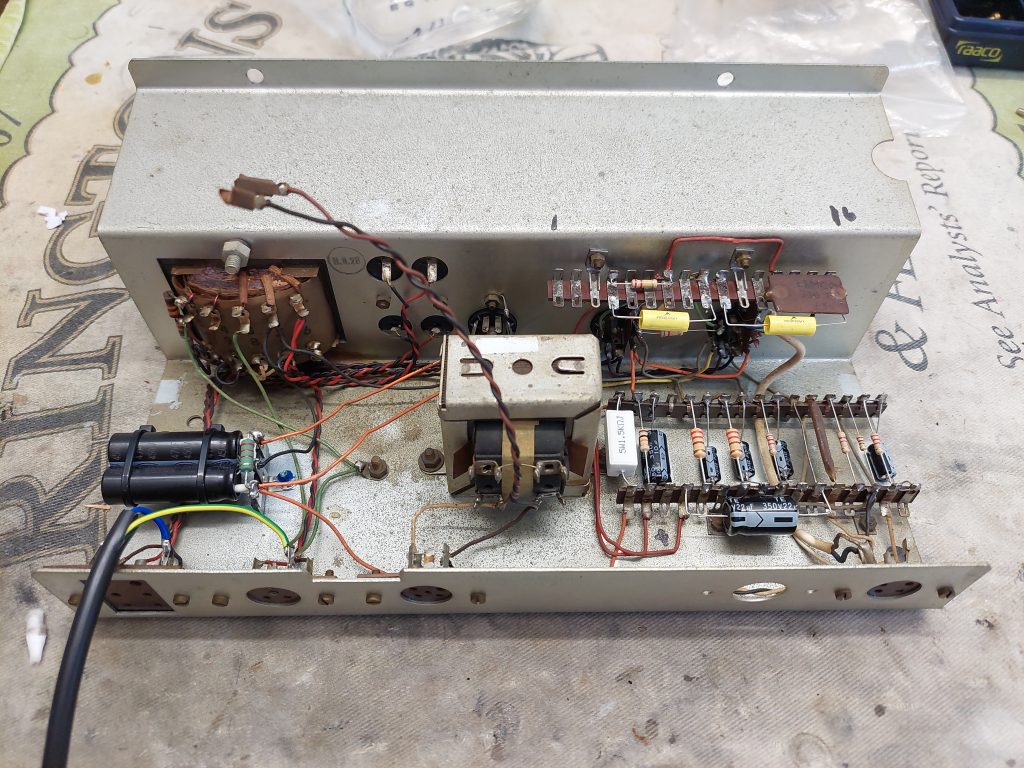
Amplifier and Chassis Cleaning:
I bought this AL42 from eBay in September of 2023 and have just recently sorted it. I bought it to go with the Gondolier (still unrestored)I bought the year before.
It was a bit rough cosmetically, but nothing that couldn’t be sorted.
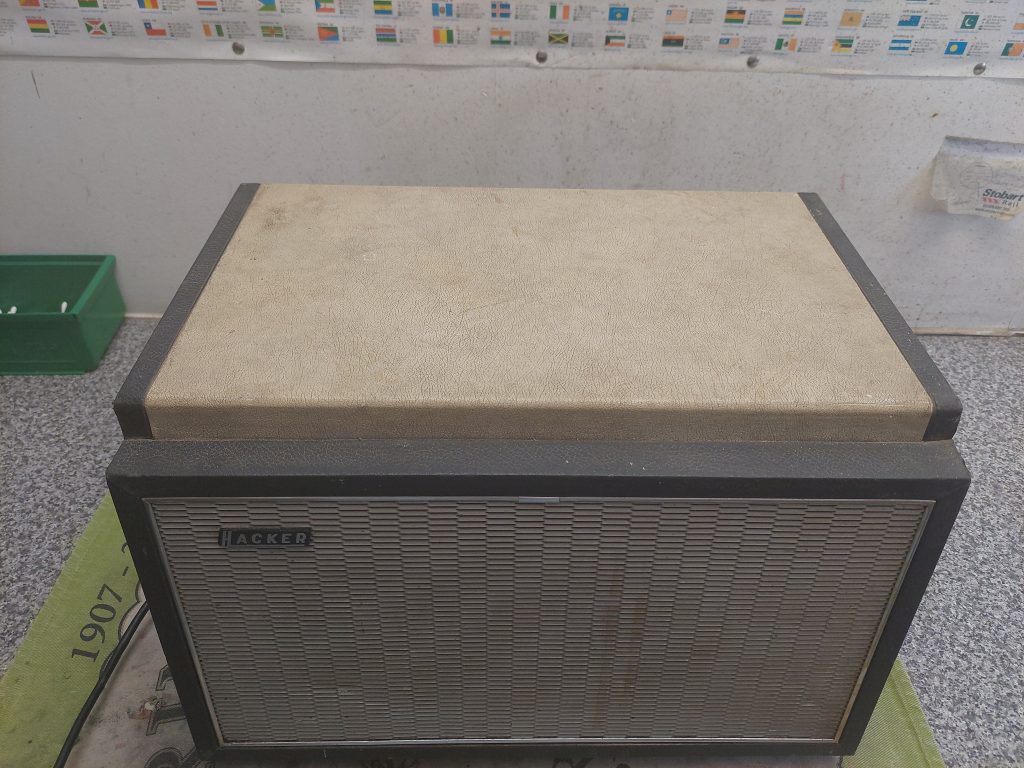
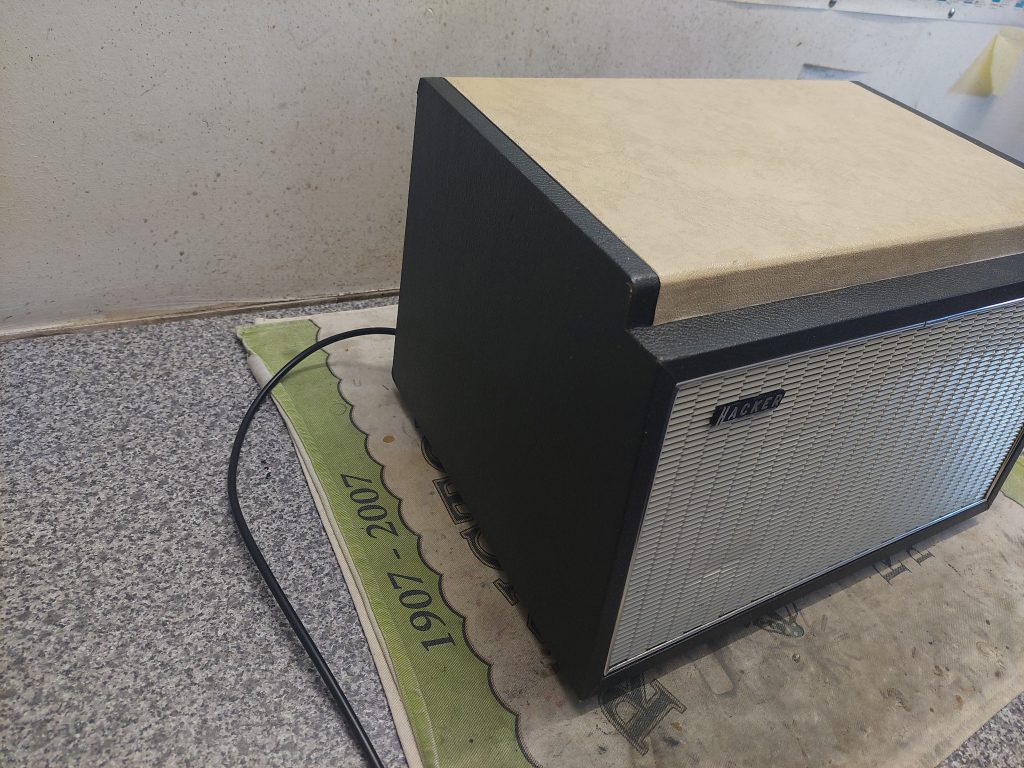
The cabinet was filthy but it responded well to a thorough scrub down with Vulpex. Once dry, the cabinet was given a coating of beeswax to give it a bit of a sheen. The cream fabric had yellowed a bit. Not much can be done about this, I’m afraid. Just focus on getting things a clean as you can.
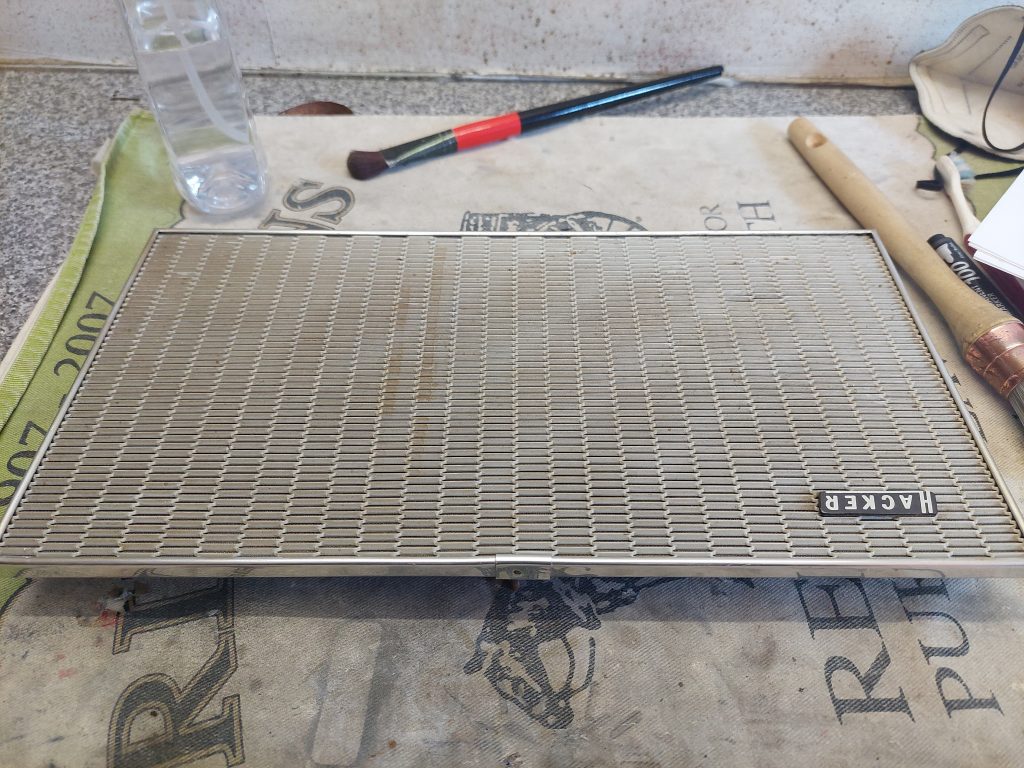
The grille was similarly filthy and cleaned the same way as the cabinet. The Vulpex cut through the grime but had a little bit of trouble cutting through the brown drip like stain that can be seen above. The staining on the finished grille is only noticeable at certain angles.
The Hacker logo got a well deserved polish too!
The inside of the cabinet and amplifier was thick with dust. Once the amplifier was removed from the cabinet, any debris could be removed with a selection of brushes and a hoover. Having a hoover that can blow air can be handy for removing stubborn dust.
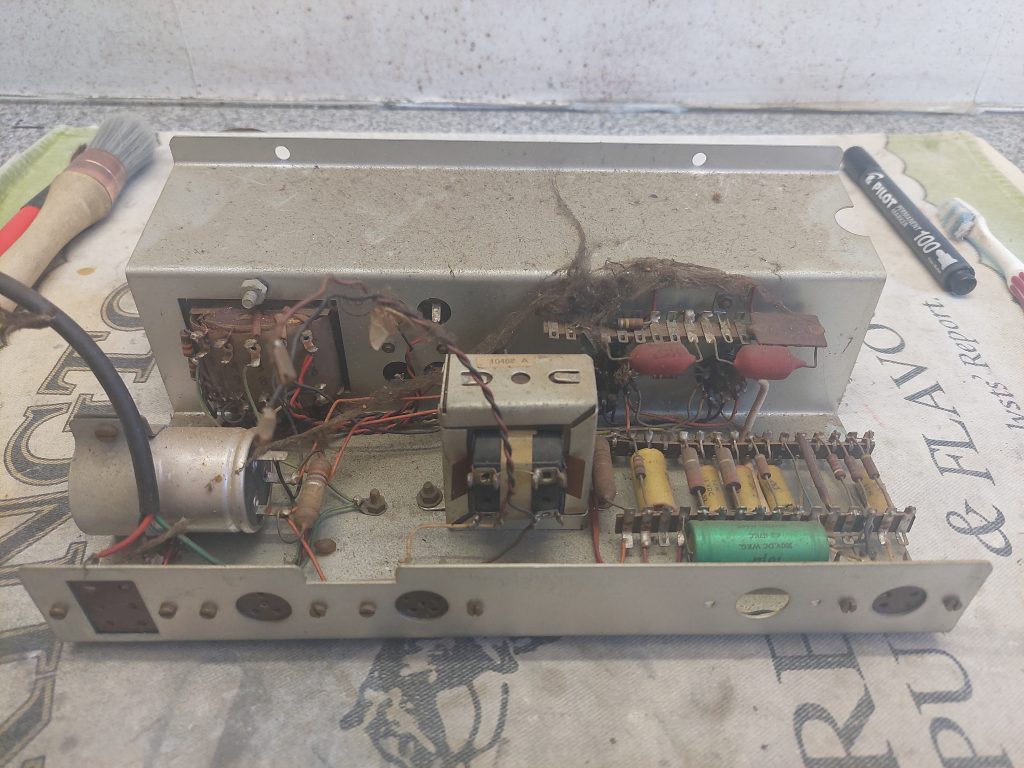
When it comes to cleaning an amplifier chassis I like to get it as clean as I can by using brushes and a hoover. I do think this ‘dry-cleaning’ method produces exceptable results 99% of the time. If I decide that something is exceptionally filthy, there is always the option of ‘wet-cleaning’ the chassis with foam cleaner. This has its own risks, of course. You will have to make sure that any cleaner has completely evaporated before the amplifier is switched on.
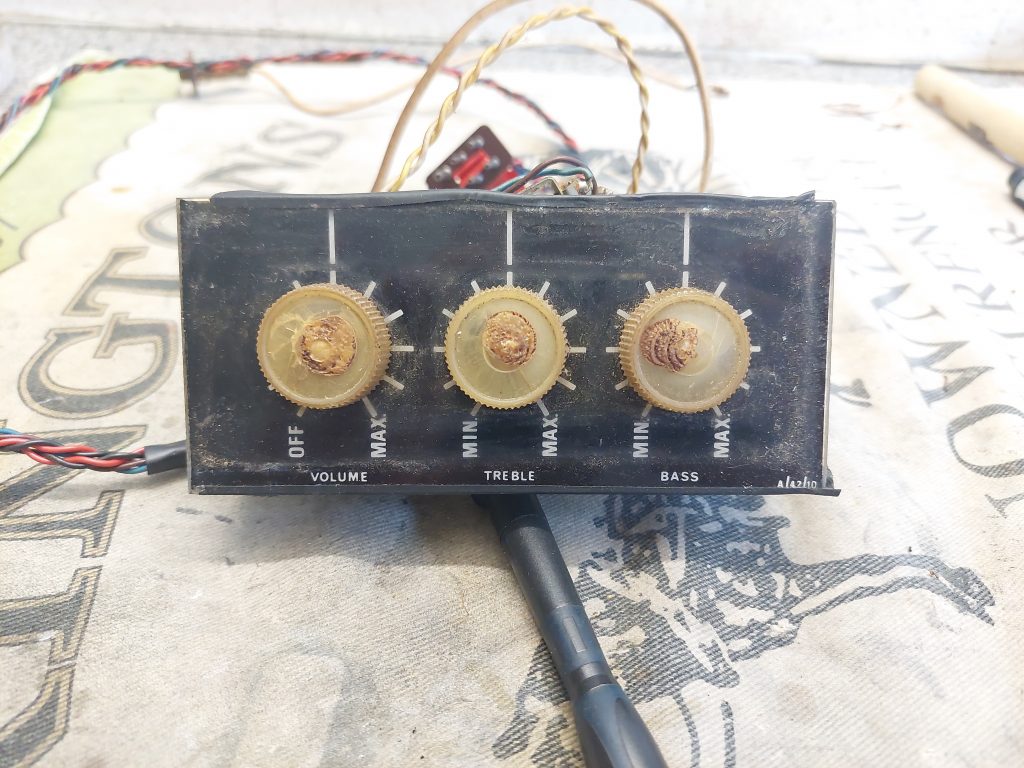
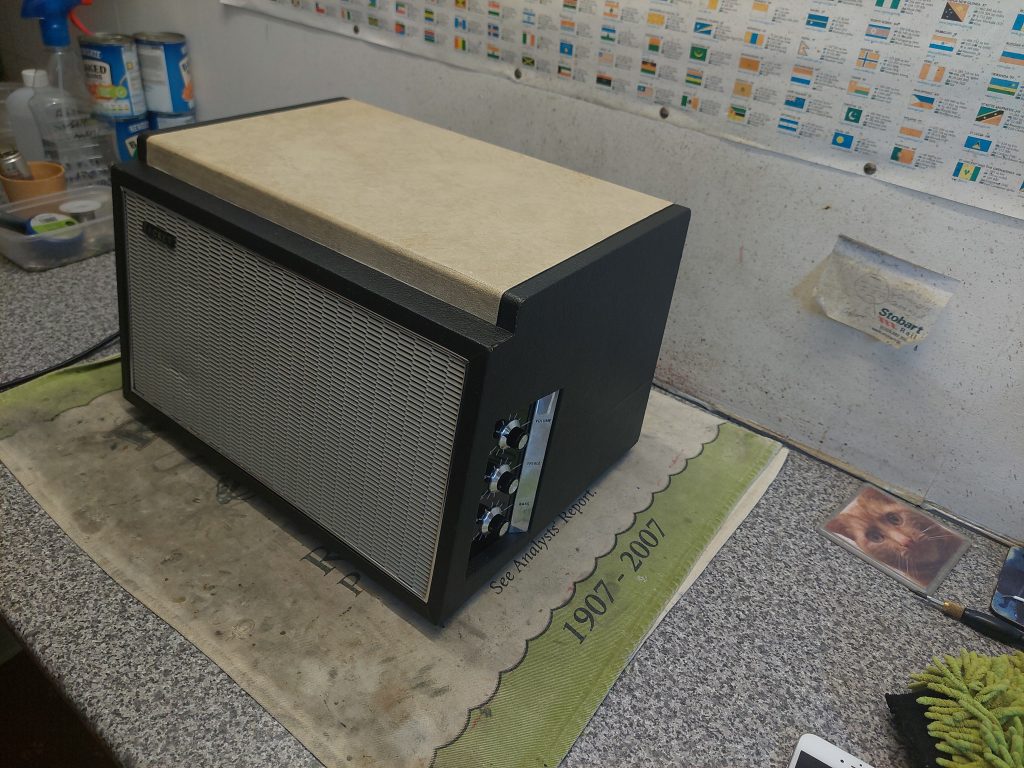
The clear knobs Hacker used here are notorious for becoming brittle. It’s likely that they will break when removed. That’s what happened to me. It’s not a problem as many off the shelf replacements can be used. A 3D printed set are available on eBay.
Later GP42 and AL42 units were fitted with a different type of knob that doesn’t have this issue.

The perspex ‘dial’ behind the knobs can be polished then waxed.
Once the cabinet and amplifier were clean, it was time to focus on restoring the amplifier.
Restoring the Amplifier:
This amplifier was used in a handful of Hacker record players throughout the ’60s. This will be third I’ve restored.
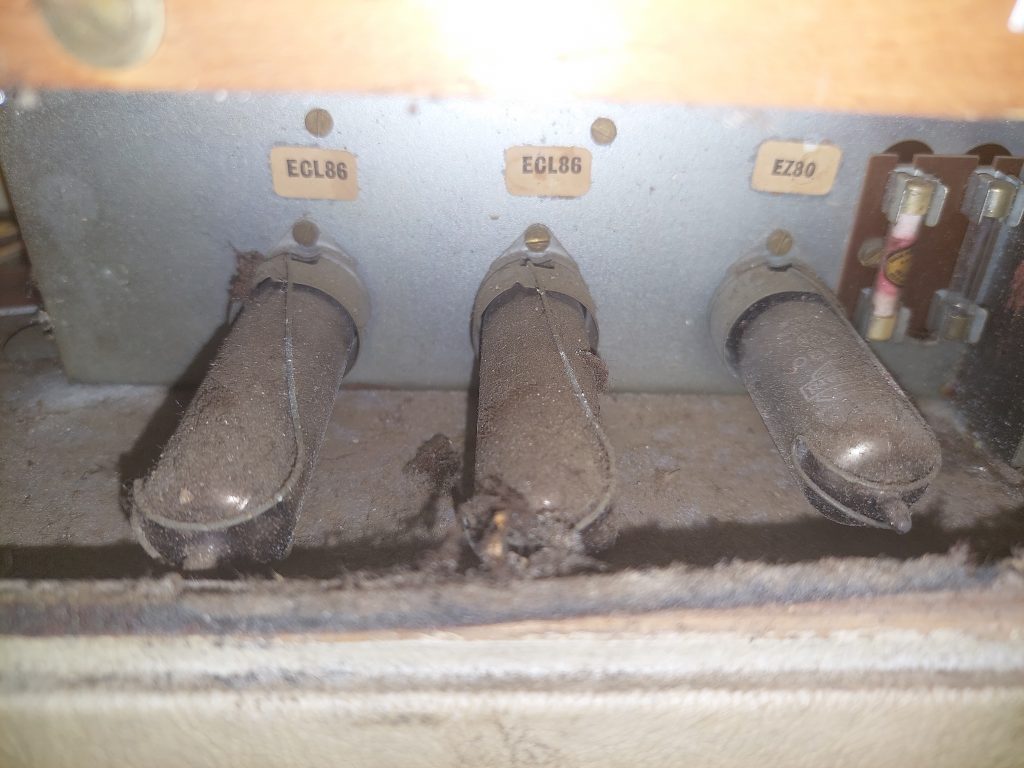
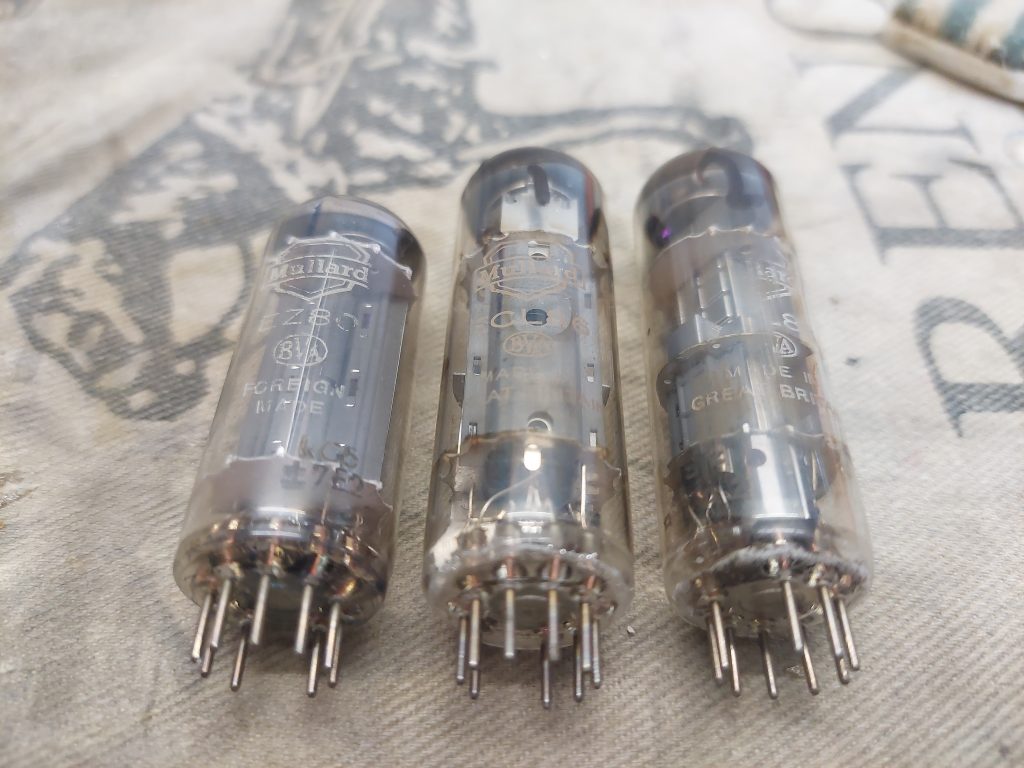
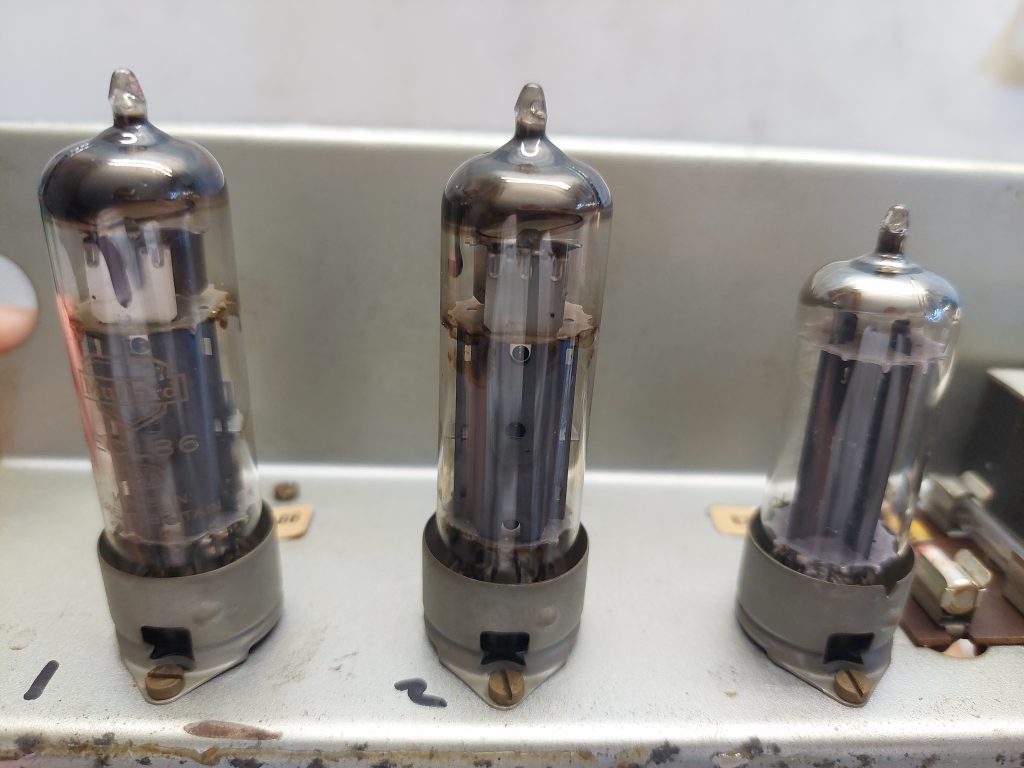
The valve line up is ECL86 X2 and EZ80 X1. They look to be the factory fitted Mullard types.
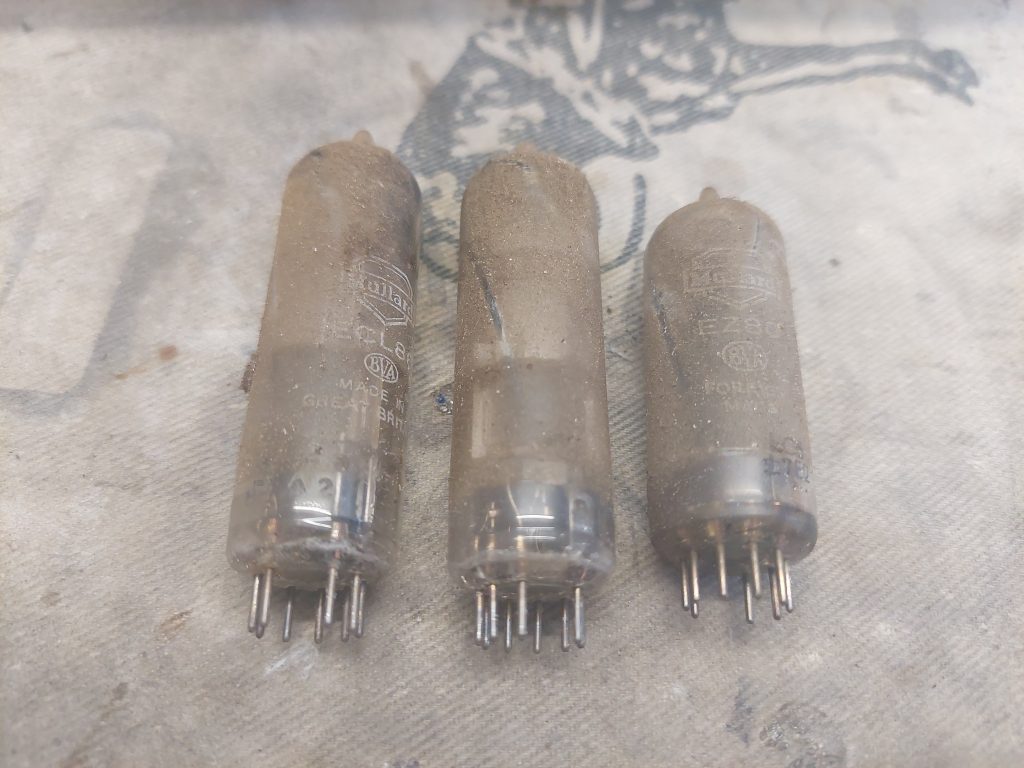
ECL86s are known to develop internal leakage when they have been heavily used. It is important to check for this once the amplifier has been sorted. NOS ECL86 valves can be bought online, but expect to pay upwards of £35.00 each or £80.00 for a pair. Second hand, sometimes tested, valves can be found for much less. This could be a gamble as you can’t gauge how leaky a given valve is without testing it in circuit.
Once the amplifier was on the bench I needed to asses whether or not it would be a viable restoration project.
The resistance of the primary and secondaries of the mains transformer and audio output transformer were measured and found to correspond with the measurements given in the service manual.
The large Goodmans 10″x 6″ speaker was also found to be in good order. It just needed a good dusting. There was also no rubbing between the voice coil and the magnet.
All of the potentiometers and mains switch were cleaned with contact cleaner. The mains switch needed extra cleaning to make sure that there was as little resistance as possible between the switch contacts when they were closed.
Each valve and valve socket had its pins cleaned.
Since the above were all OK, the restoration could begin.
I start by measuring the resistance of all twenty-one resistors. Anything out of tolerance is replaced. I ended replacing every resistor bar two.

Both grid coupling capacitors were replaced.
All four cathode bypass capacitors were replaced along with all four HT smoothing capacitors.
The dual section 47μF can was replaced with two separate capacitors that were soldered to some tag board. The original CCL capacitor tested perfectly but I like to replace them just in case they go wrong in the future.
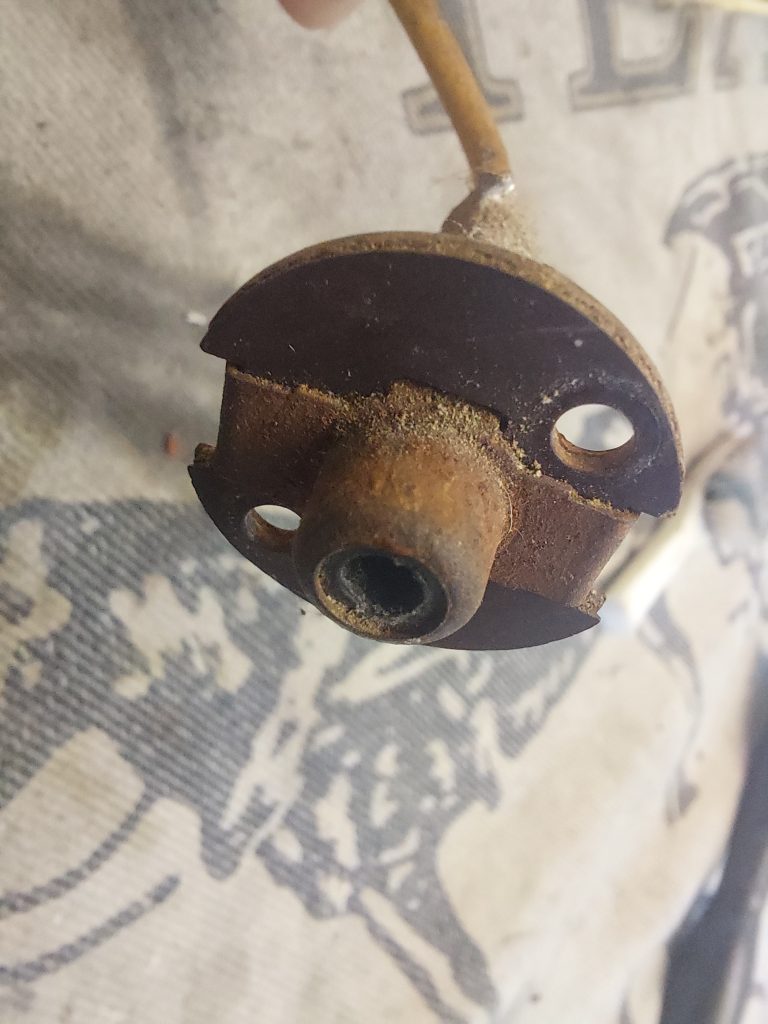
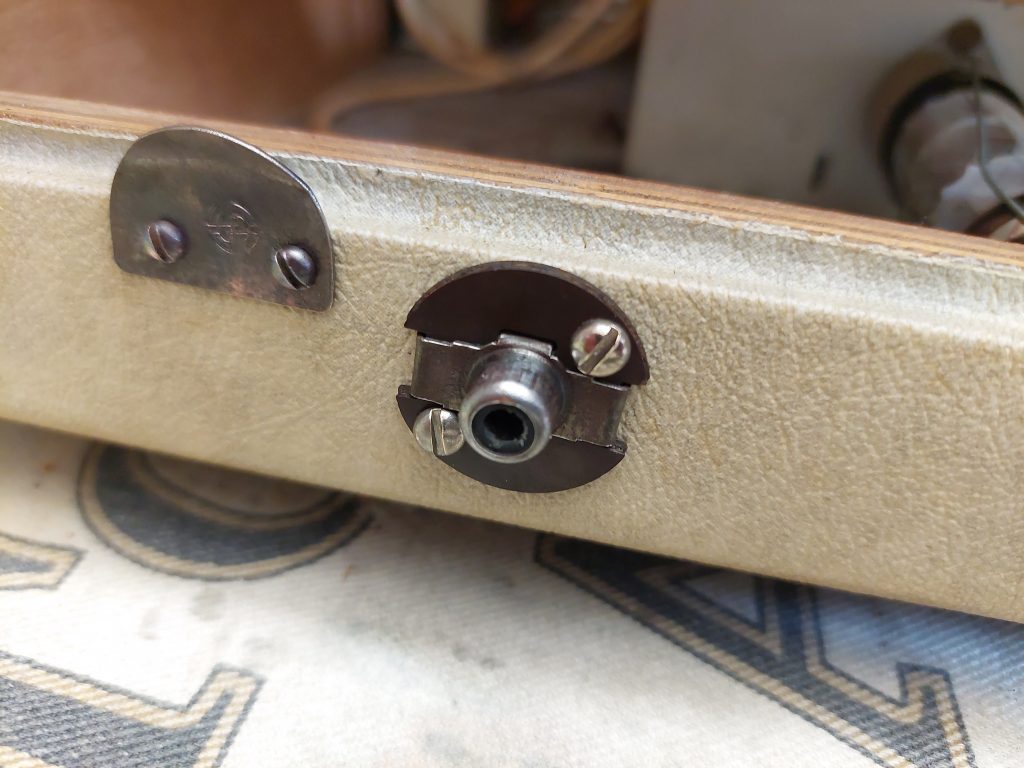
A new mains lead and plug finishes off the amplifier.
Replacing all of these components does take a good deal of time and effort. I do enjoy it though. I do think it is worthwhile for reliability purposes. Remember these amplifiers are getting close to sixty years old!
Once all of the capacitors and resistors have been replaced the amplifier can be switched on for the first time.
The initial power up is done via a lamp limiter to make sure that excessive current isn’t being drawn by the amplifier.
The initial power up was uneventful. The HT gradually rose to 270V and I was rewarded with the sounds of Serenade Radio from the speaker. It sounded good with plenty of volume. The tone controls both worked as they should.
After working for an hour I measured all of the valve voltages and everything checked out as it should.
Once I was satisfied that everything was in order I let the amplifier play to itself for six hours. During this time I monitored the voltage on the grid of the pentode section of both ECL86s. 300mV was measured here, nothing to worry about. If this figure was much higher, multiple volts etc., that would be a cause for concern.
I quite like how Hacker designed and laid out this amplifier. It’s very easy to work on. Especially the row of resistors and capacitors on the right hand side of the chassis.
The last thing to do was to assemble everything back in the cabinet.
Overall, I think this restoration went really well. These AL42 units sound excellent once they are properly sorted. Plenty of bass. They are sometimes criticised for their lack of treble but that is going to be the case with such a large speaker and no tweeter fitted. Careful adjustment of the tone controls will help here.
In my experience, a lot of these valve record players don’t have heaps of top end. Its just how they are. You need to let your ears tune themselves to what they are hearing, if you know what I mean?
Here are a few photos of the finished AL42 to round things out:
It’s another Hacker saved, which it its own reward.
It will be interesting to pair it up with the GP42 once it has been restored.
That’s it for now.
C.T.H
Leave a Reply