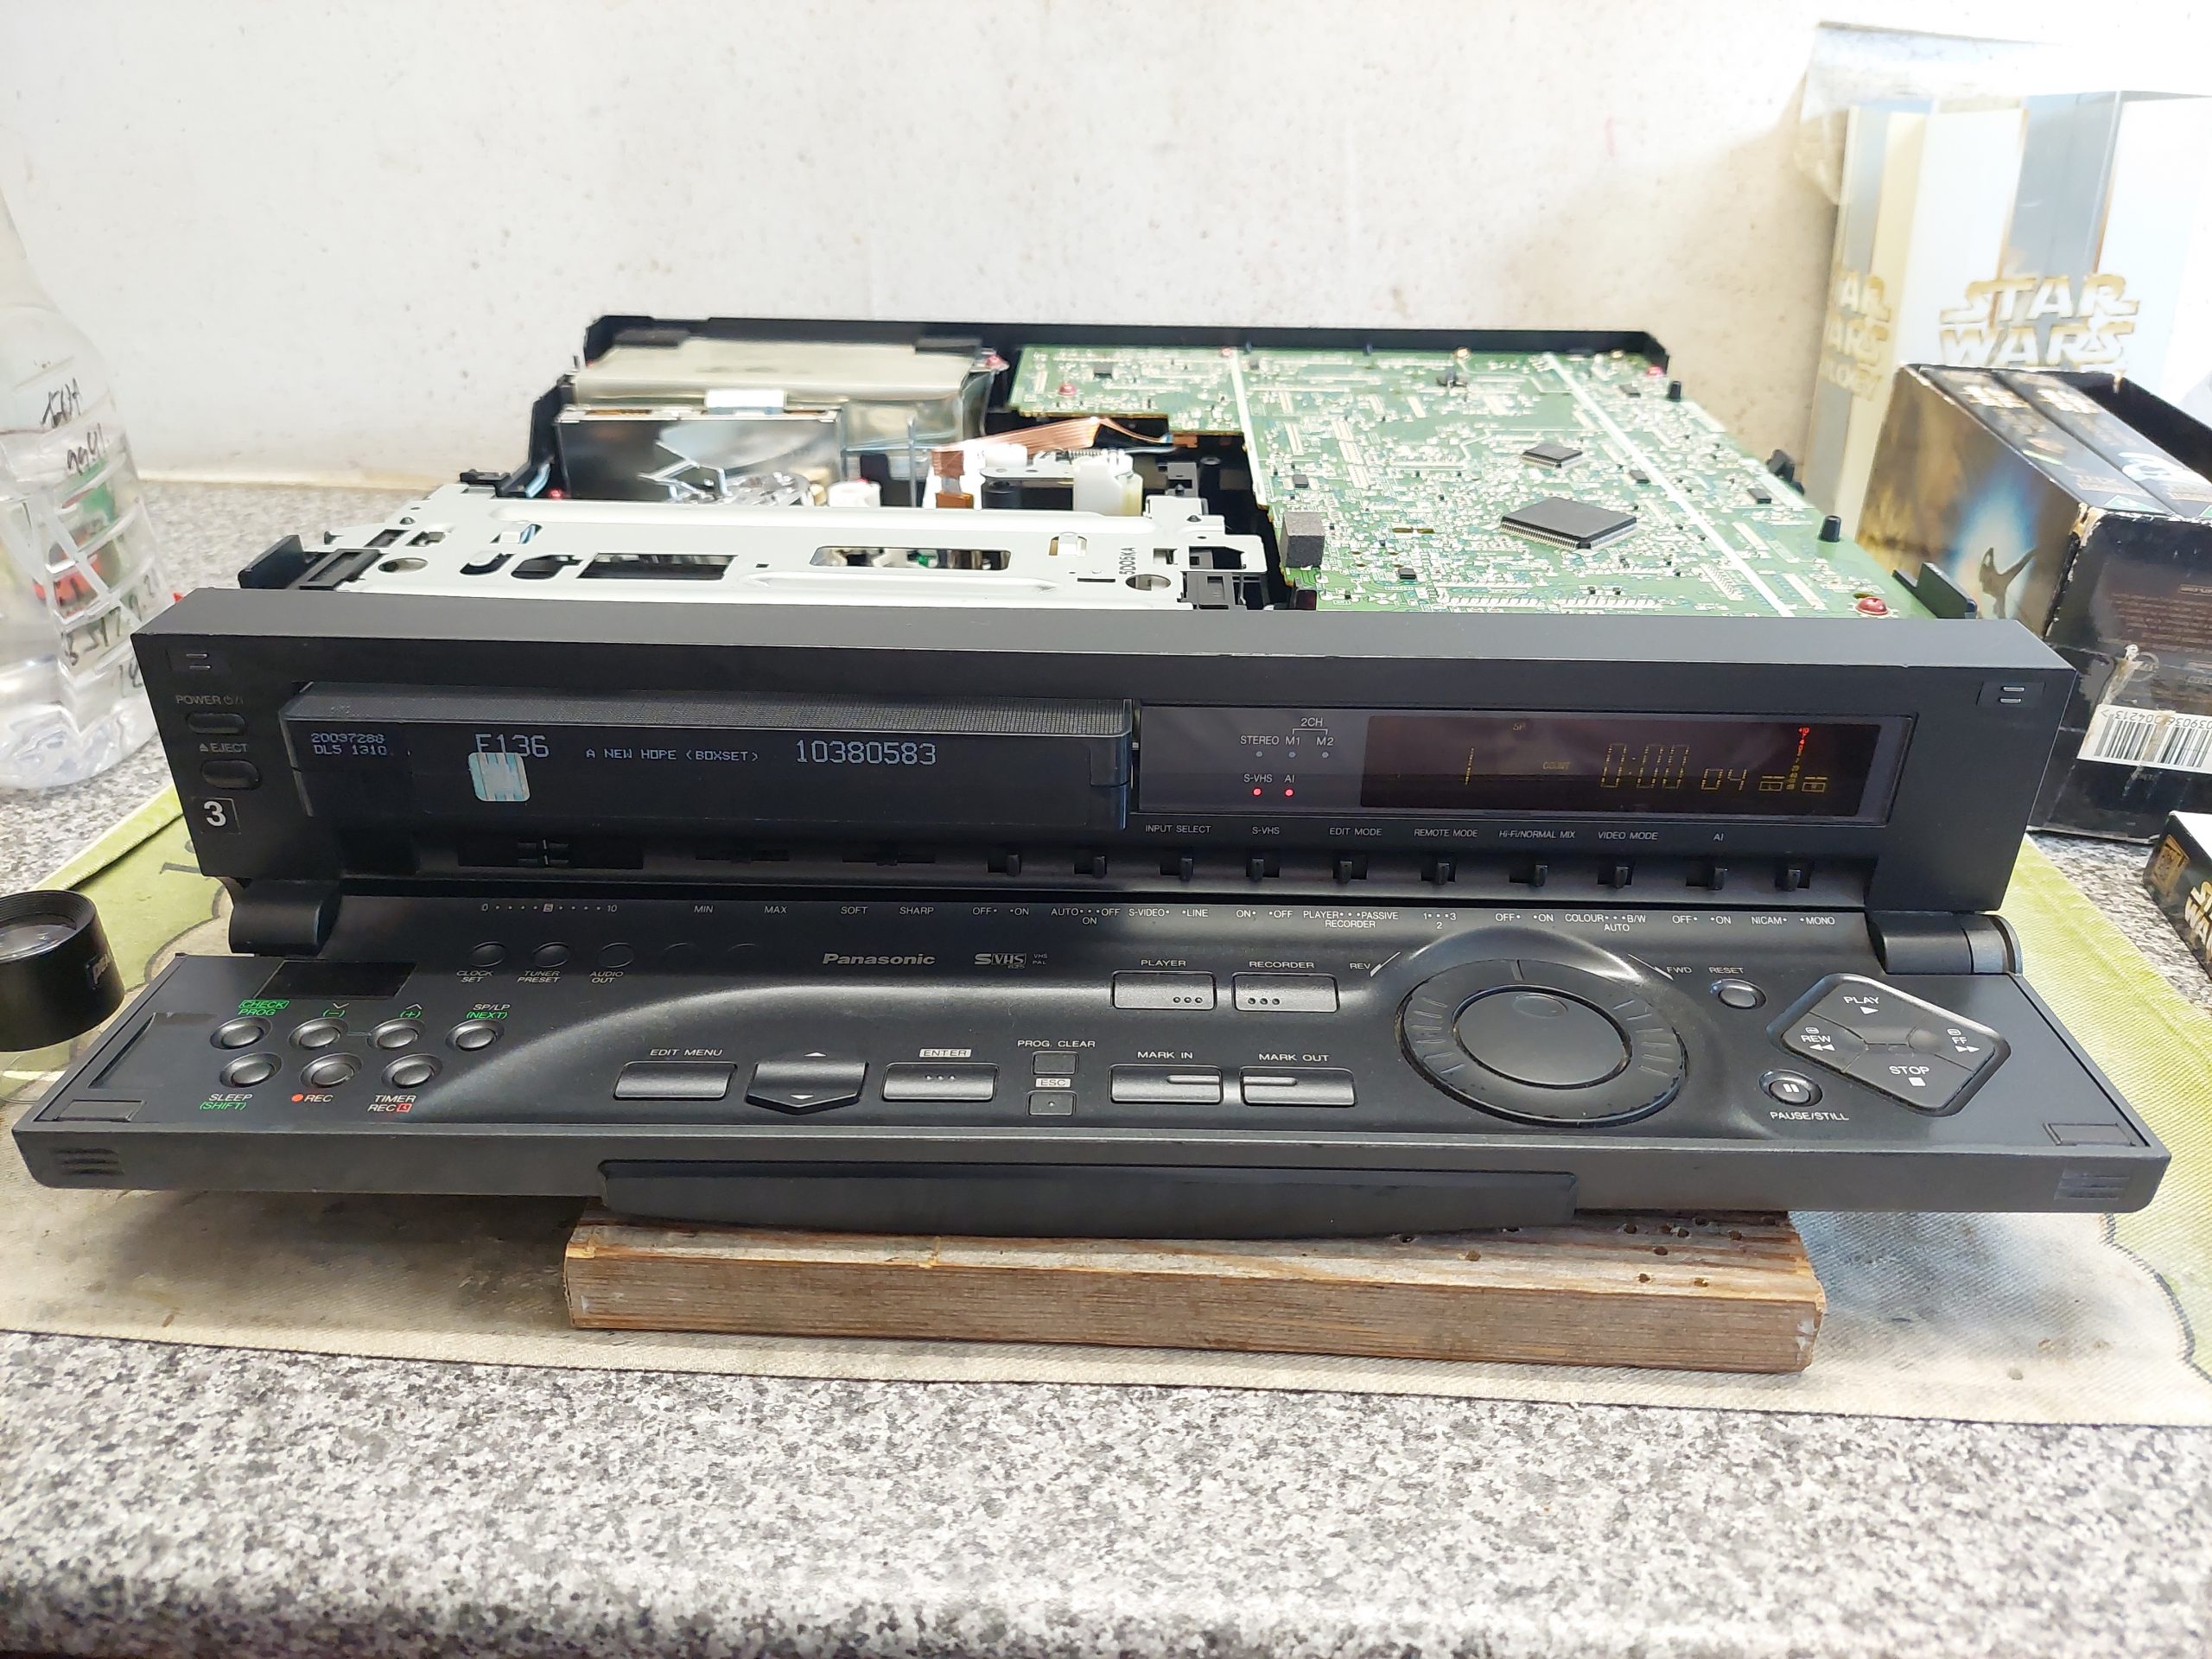
I was asked to have a look at this high end VHS deck by Alan of Timewarp Sounds in Ashington. I’ve done some basic servicing work on a few VHS decks so I was happy to help.
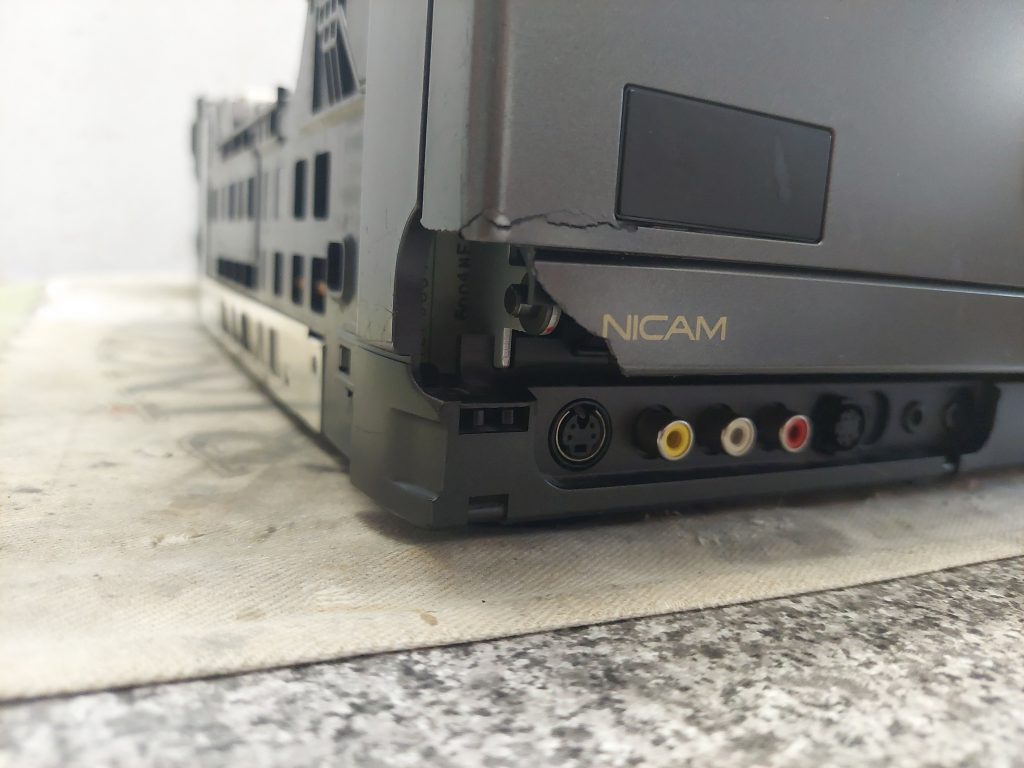
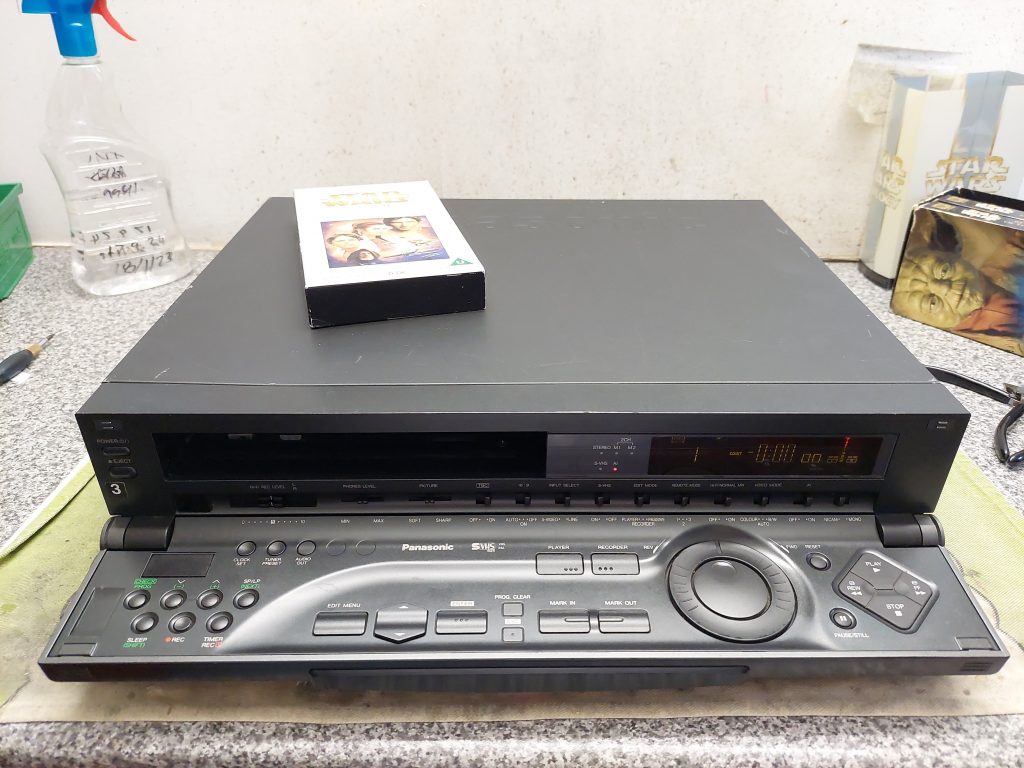
The NV-HS1000 was a S-VHS editing deck that was intended for high-end consumer use. I believe that they are popular with those who digitise old VHS tapes.
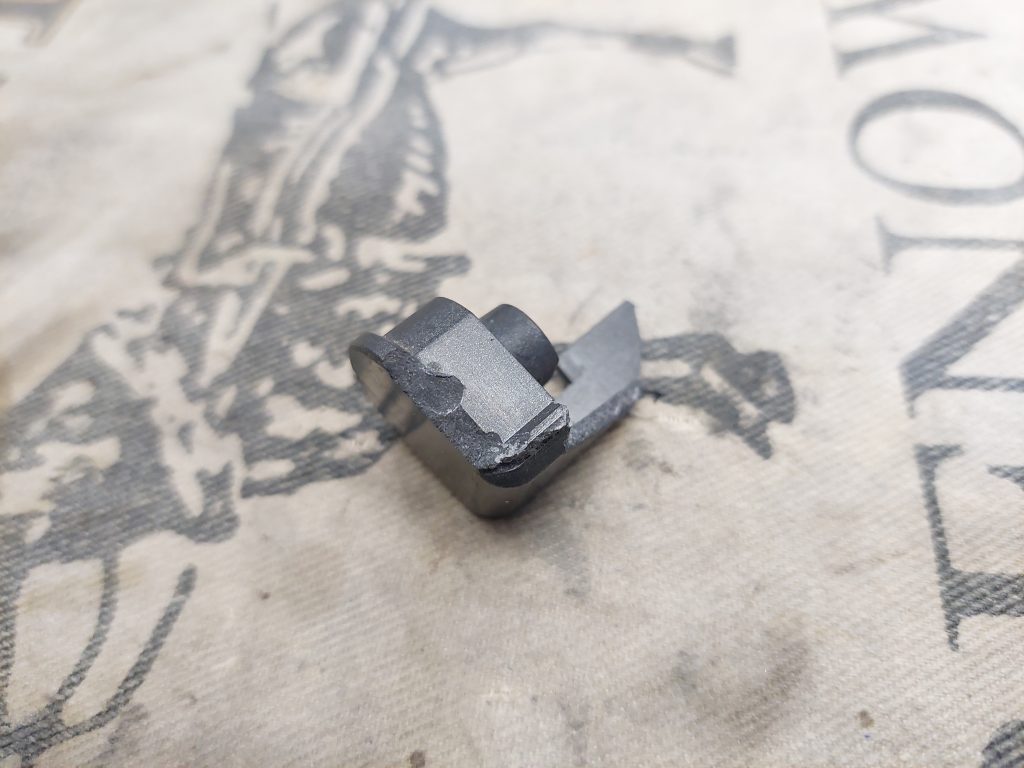
The main cosmetic issue was a broken hinge that was a part of the fold down control panel. The front flap that covers the VHS slot had a broken retaining peg.
Before I started the servicing work, I tested the basic functions of the deck. Play, stop, fast forward and rewind all worked as they should.
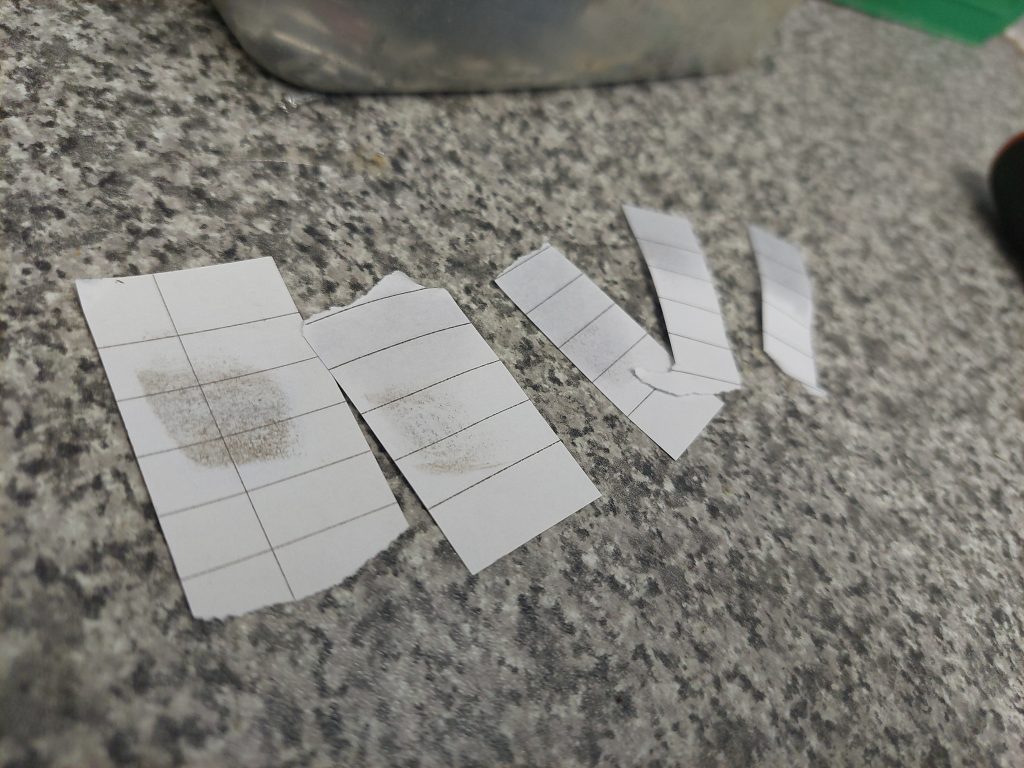
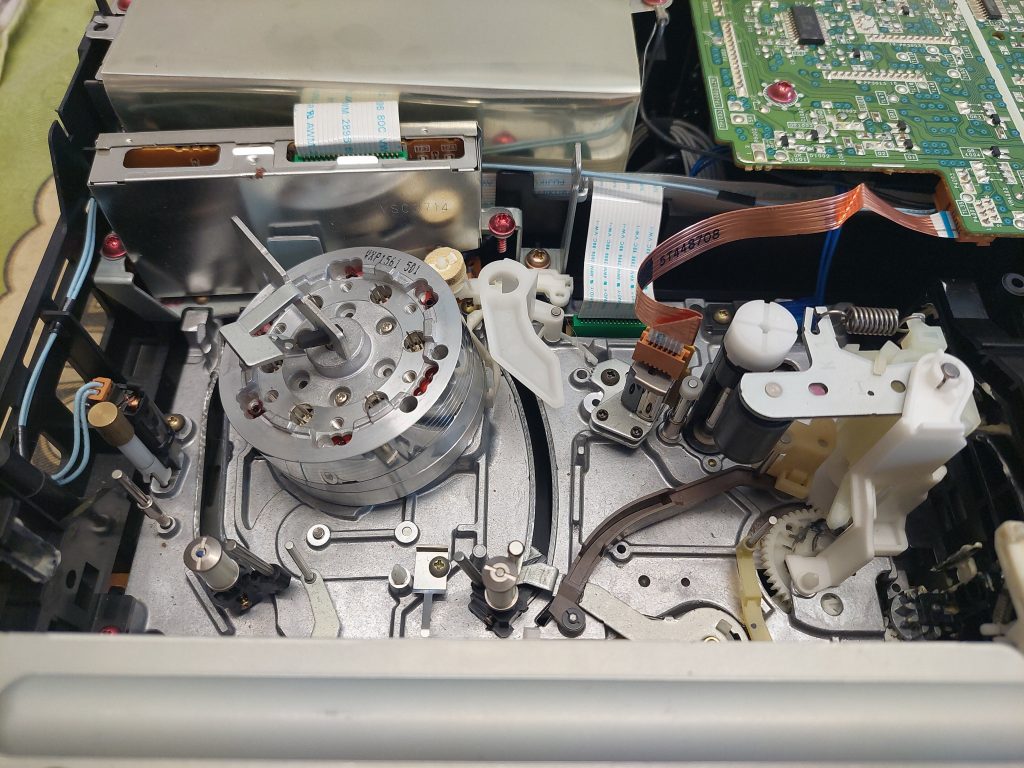
The head drum was cleaned with IPA soaked strips of paper. Plenty of dirt was removed. The rest of the mechanism was cleaned with cotton buds soaked with IPA. The pinch rollers, guide pins and other parts of the mechanism were pretty clean.
Once the basic service was finished I tested the deck with a tape for the first time. Everything worked as expected.
With everything working as it should it was time to tackle the broken hinge.
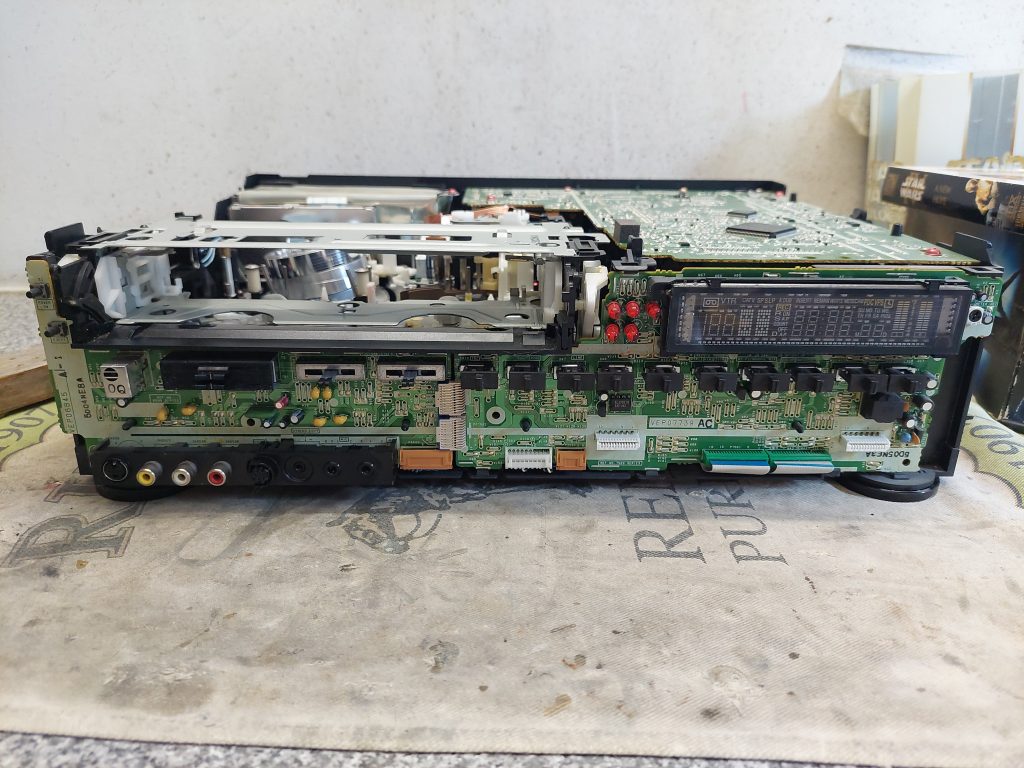
The front panel was attached to the deck via a couple of screws and some plastic clips. Thankfully the service manual for this deck can be found online and offers some disassembly instructions.
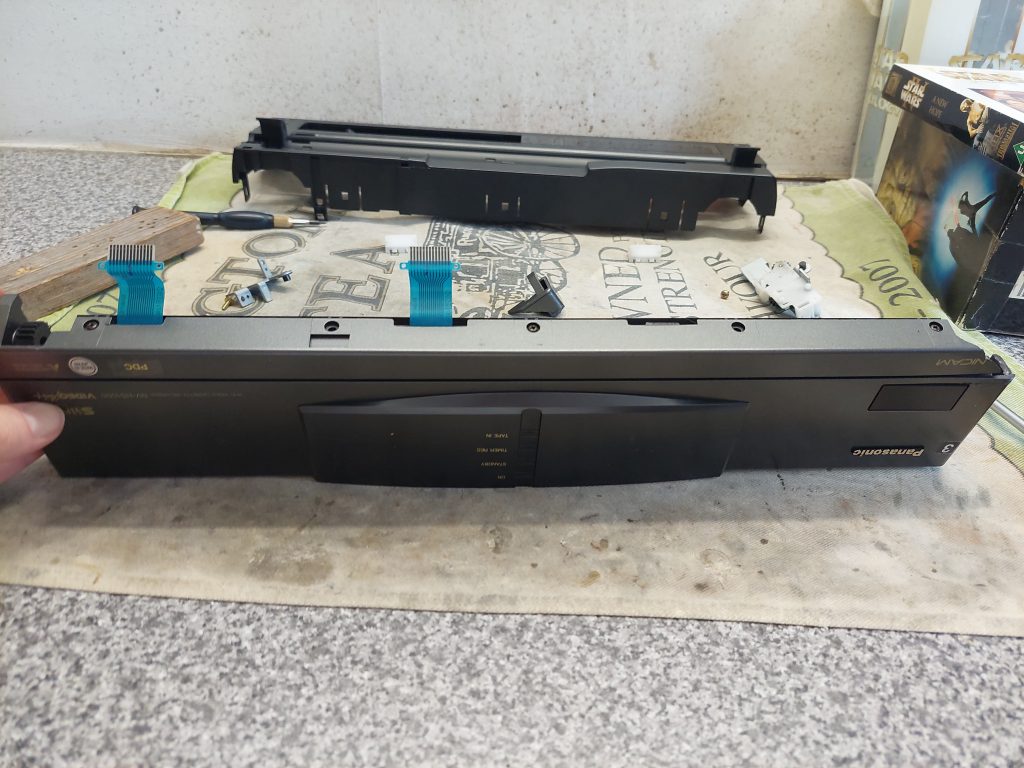
Once the panel was off it could be further disassembled into two parts. The bit I wanted was the front casing.

The break was clean enough where the hinge could be super glued back into its original position.
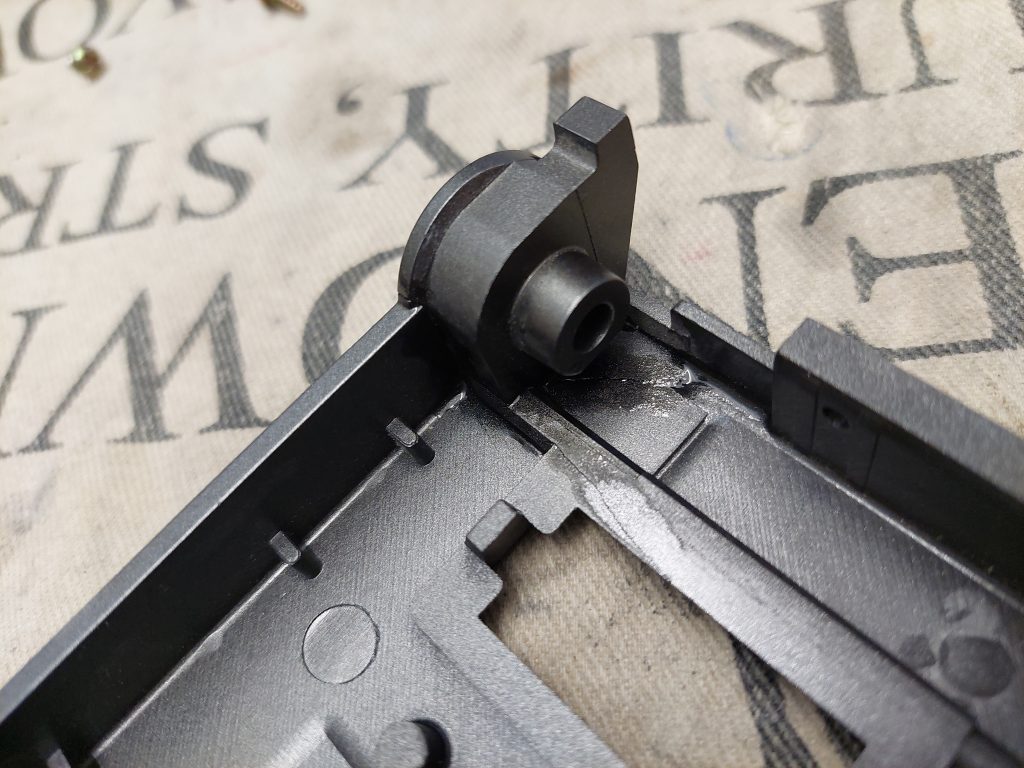

The two parts adhered together well. It’s not a pretty repair but rather a strong and functional one.
The front panel went back together without any trouble. The panel could be opened and closed without issue. The hinged panel is dampened with silicone oil, which gives the deck a high end feel.
Unfortunately I could not find the plastic pip that broke of the VHS cover flap, so it could not be reattached to the front panel.
Once everything was back together the deck was given a rub down with Mr Sheen.
More testing was done with the few VHS tapes I had to hand, namely the Star Wars original trilogy.

Video quality was exactly what I expected from these old tapes. The VHS HiFi audio track was working too. The basic playback functions were rechecked and found to work fine.
The original remote control was fitted with batteries and found to be fully functional. You can even use the remote control to set the time on the deck itself!
The deck has so many features, most of which I can’t really test. The instruction manual can be found online which gives you an idea of what this deck can do.
As a final test I played all three SW tapes which amounted to around six hours of testing.
At this point, I was satisfied that the deck was ready to go back to Alan.
Every now and again it’s nice to work on something that is outside my usual remit.
That’s it for now,
C.T.H