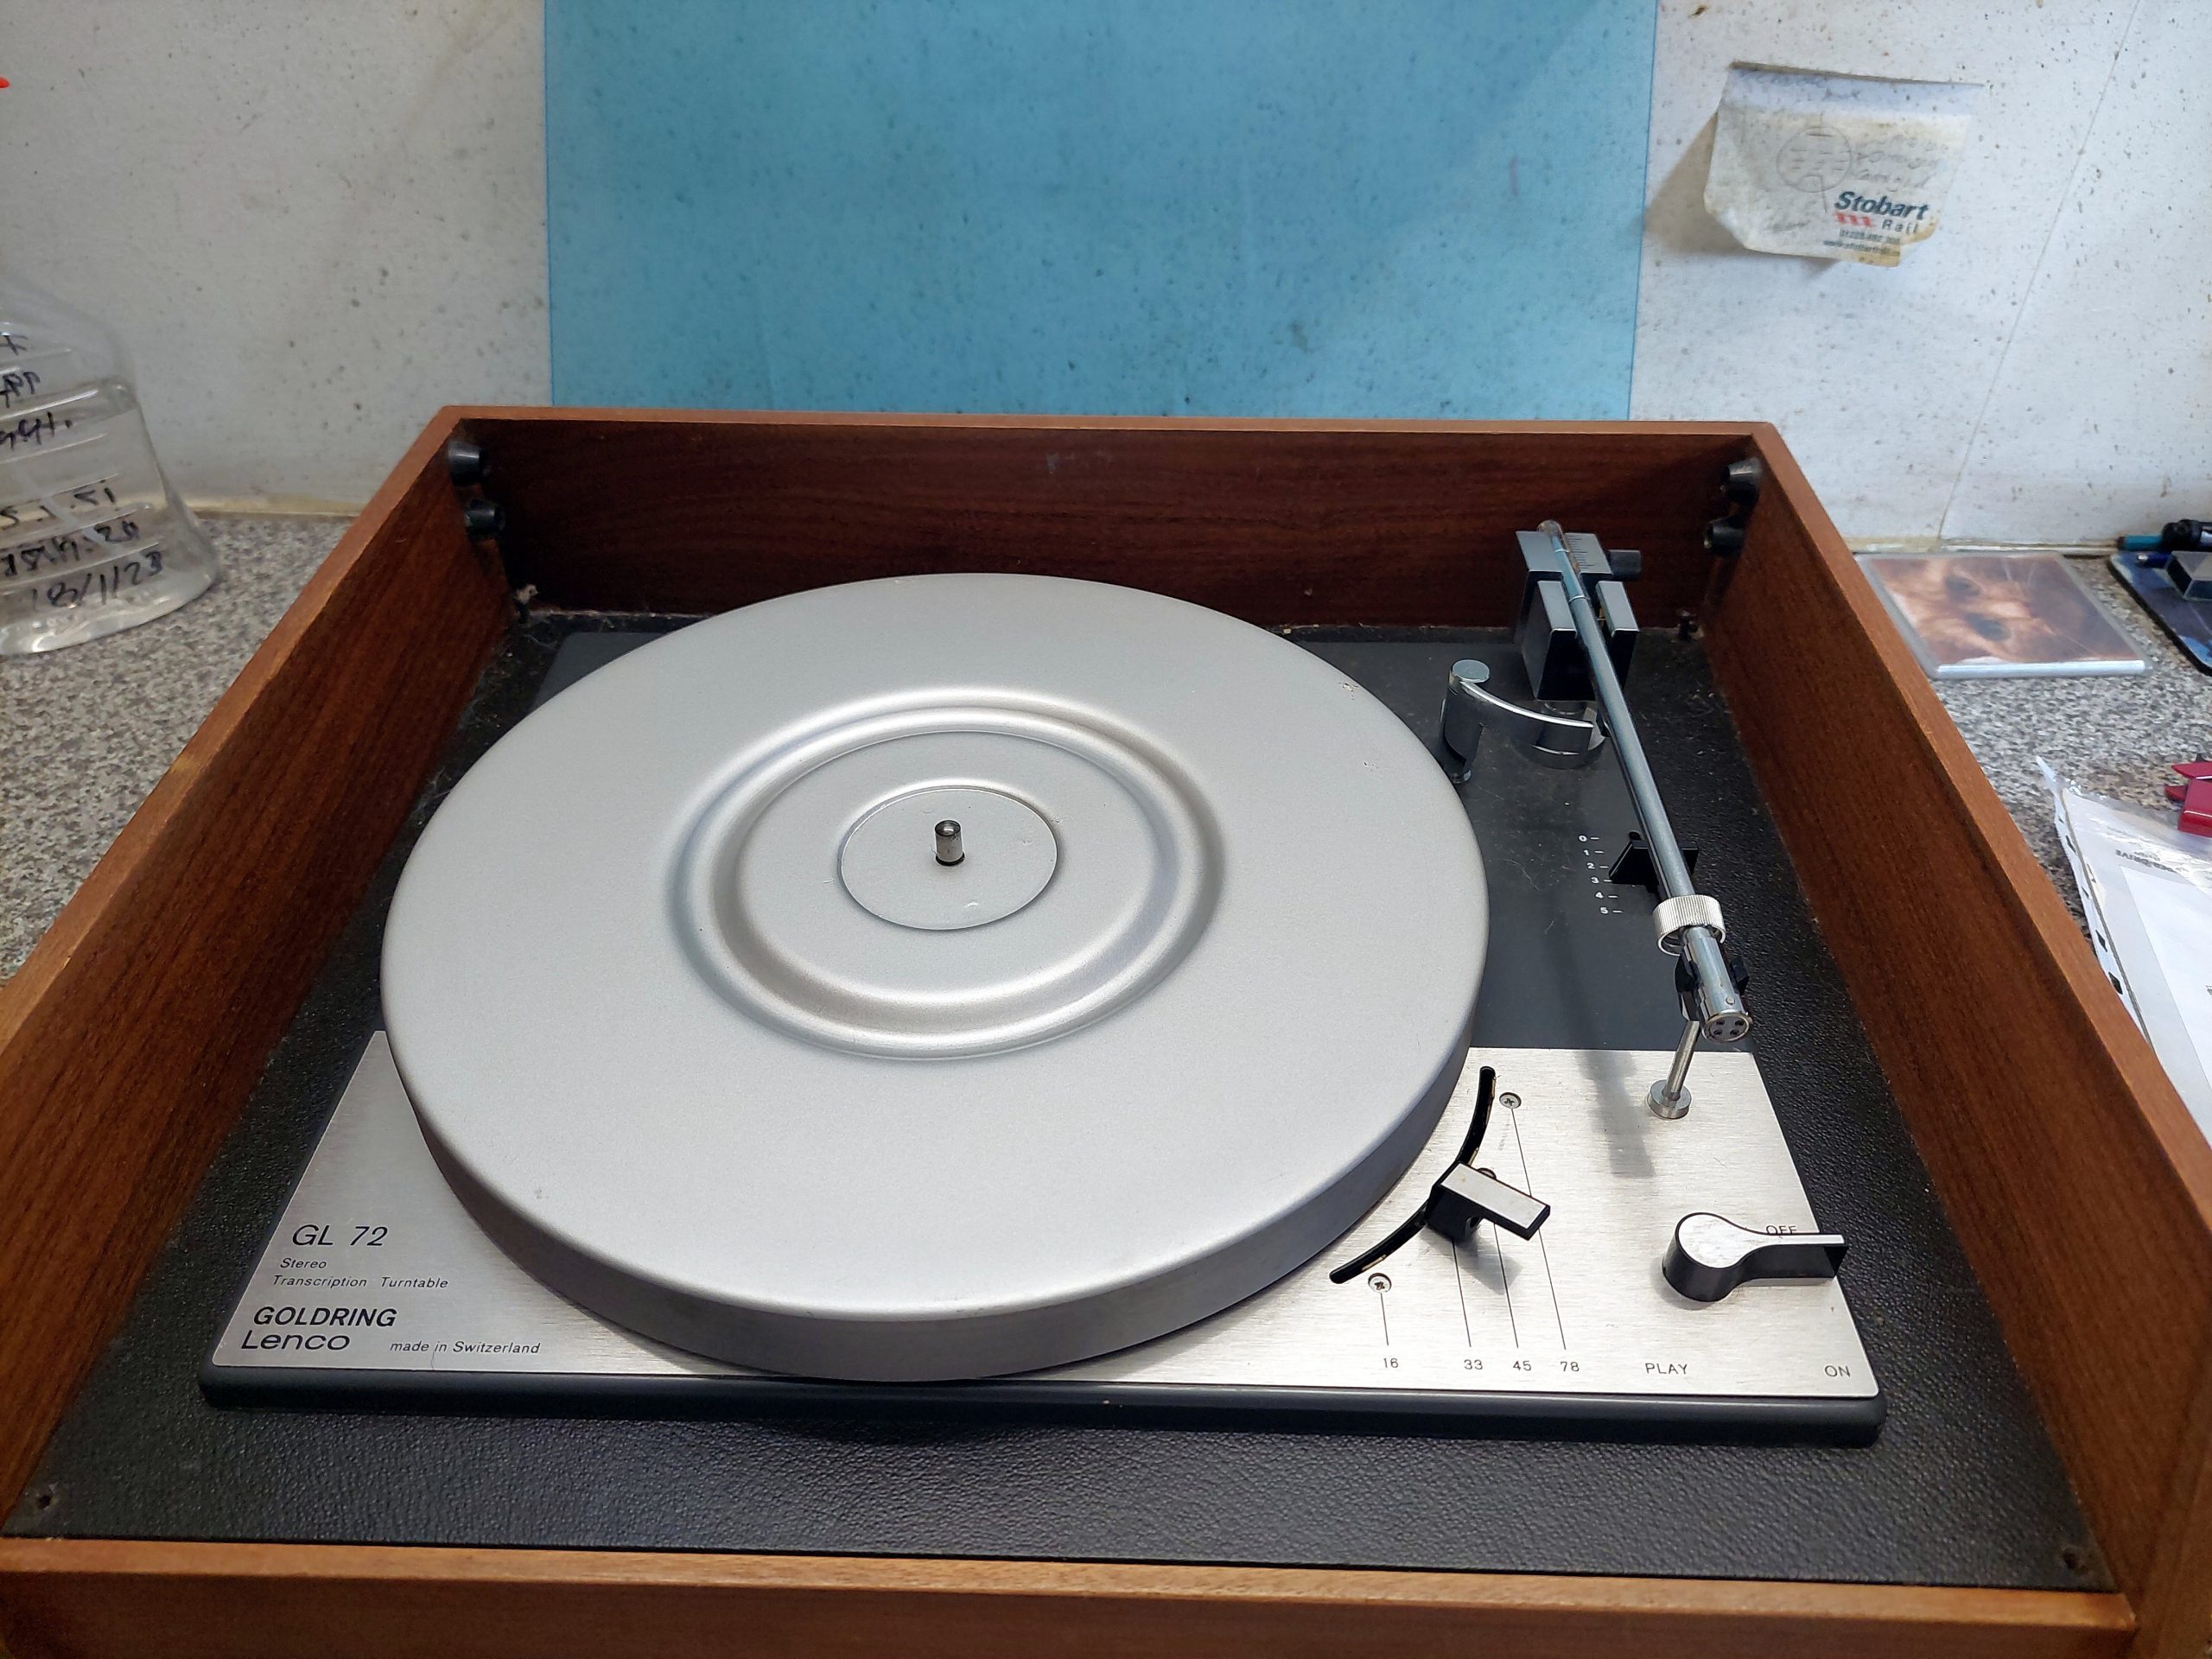
I was recently given this nice Goldring Lenco GL72 by Alan of Timewarp Sounds, Ashingon.
It looked pretty good cosmetically under years of dust. The teak plinth was in good order too. Its perspex lid does have a small crack in it.
The original rubber platter mat and headshell were missing, along with the cartridge. As with all of these old Lenco turntables, the v-blocks that make up the vertical bearing of the tonearm need replacing. All of the original mains and phono wiring needs replacing.
My method of restoring turntables is time and effort intensive. I’ll try and give you an outline or the process. It involves stripping down the mechanism completely and putting all of the parts through an ultrasonic cleaner.
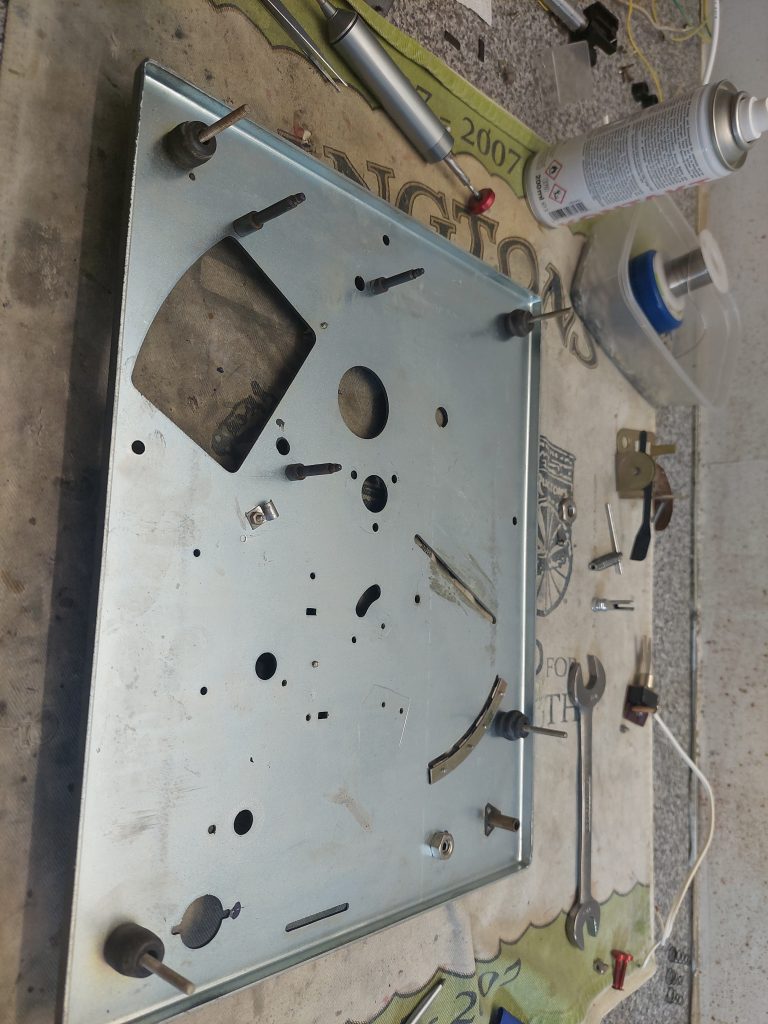
Next, all of the above deck parts are cleaned, polished and waxed to make them look as good as I can get them.
The main platter bearing is stripped down and given a good polish with Autosol using a polishing wheel. The bearing housing is then packed with grease and put back together.
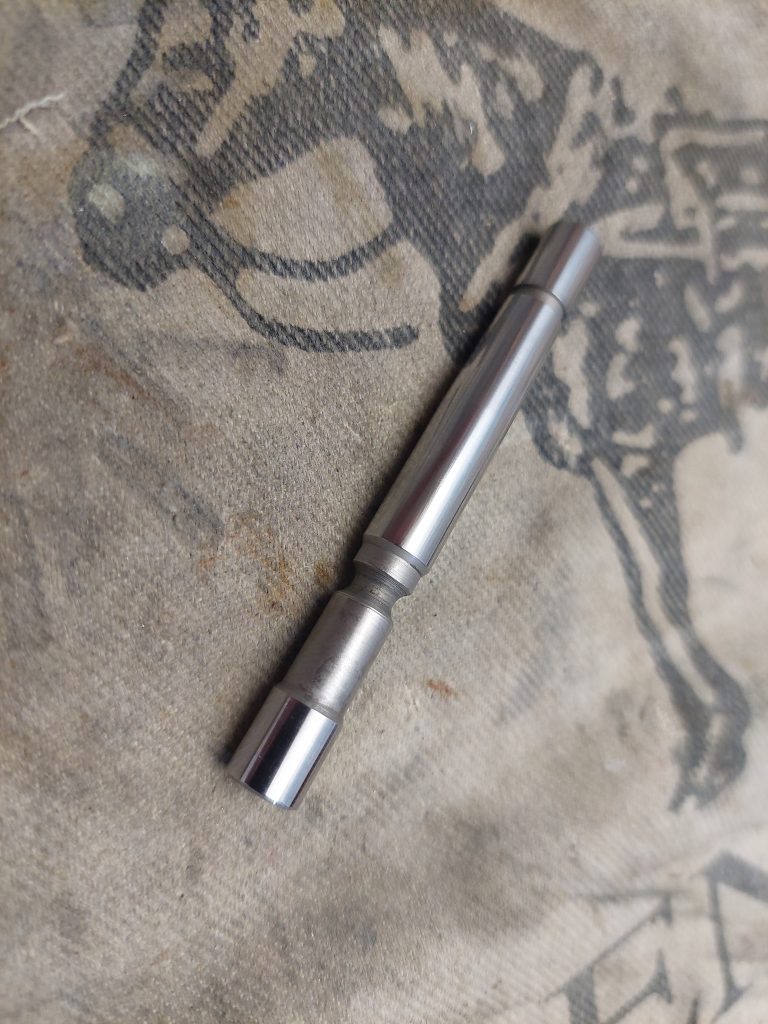
The horizontal tonearm bearing was also stripped down. All of the surfaces that were in contact with the ball bearings were polished. The ball bearing races were packed with grease.
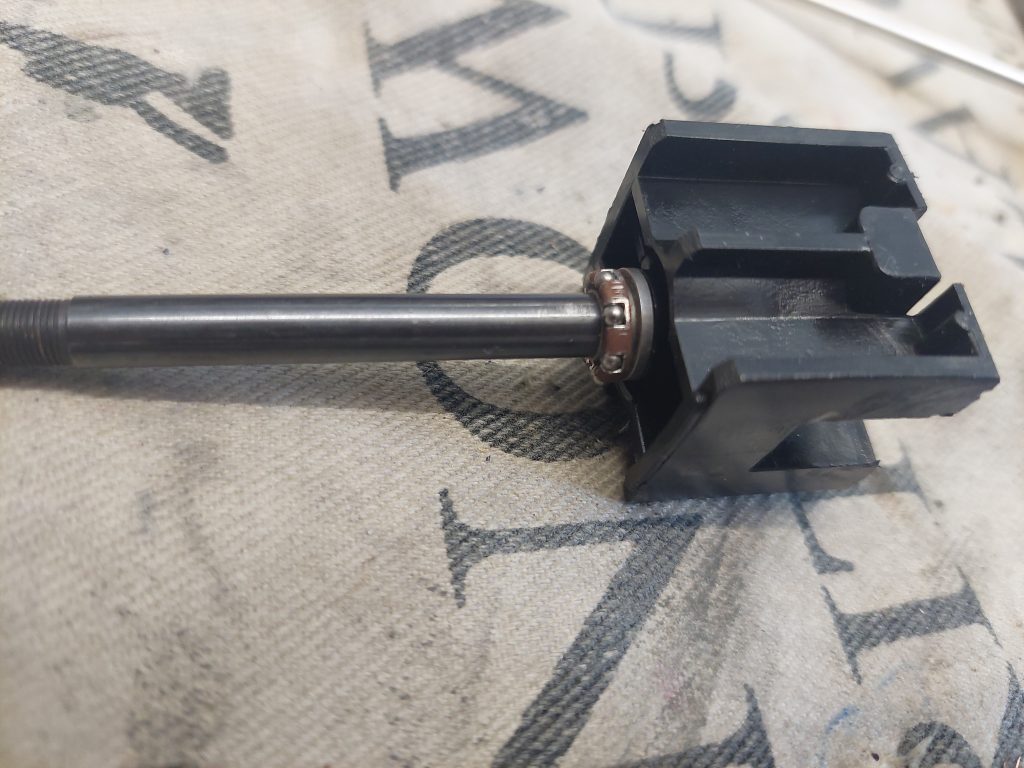
This bearing needs careful reassembly. If the nut that keeps the assembly together is too tight, there will be too much friction and the bearing will have a ‘rough’ feel when you twist it. Keep backing off the nut until the bearing has a smooth feel to it.
Once everything has been cleaned, the mechanism it put back together piece by piece with the correct oil or grease where necessary.
If a turntable has a dampened cueing arm, the mechanism is cleaned then reassembled with new silicone dampening oil.
New v-blocks were installed as the originals turn into mush. The replacements were made of a hard plastic. They did need a bit of adjustment with a file before they fit in their slot properly.
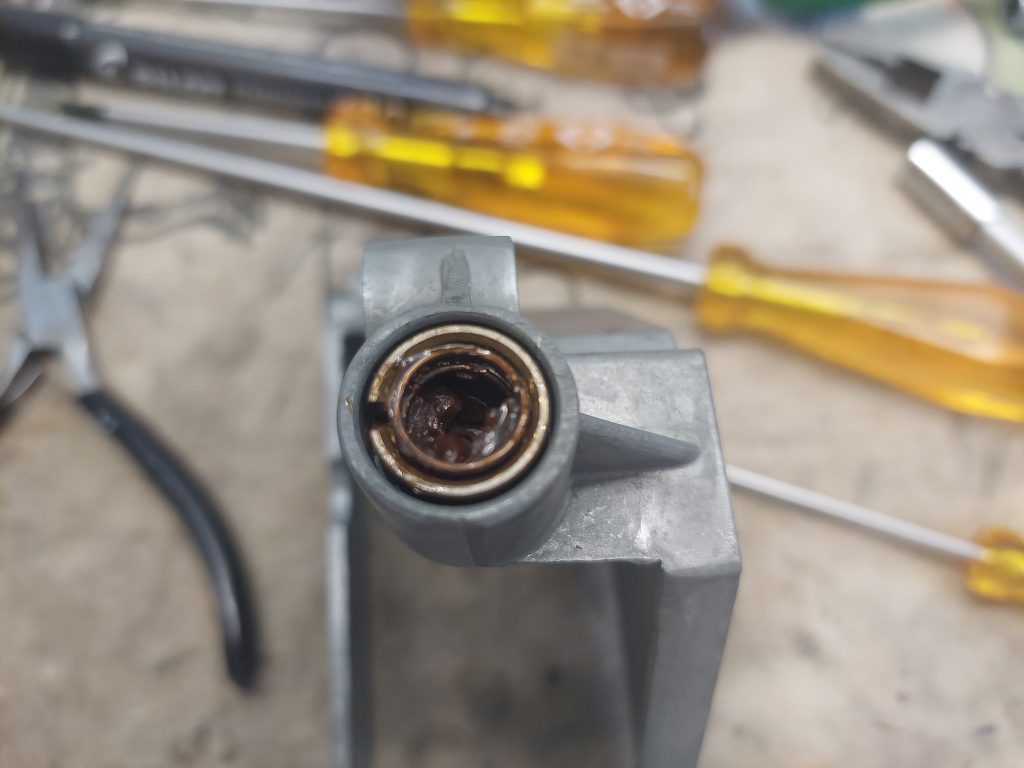
The motor is treated in the same way. Strip it down, clean the bearings, re-oil them and resemble. I went the extra mile with this motor as I boiled the both of the motor bearings in oil. The warm oil is absorbed by the porous bearing material.
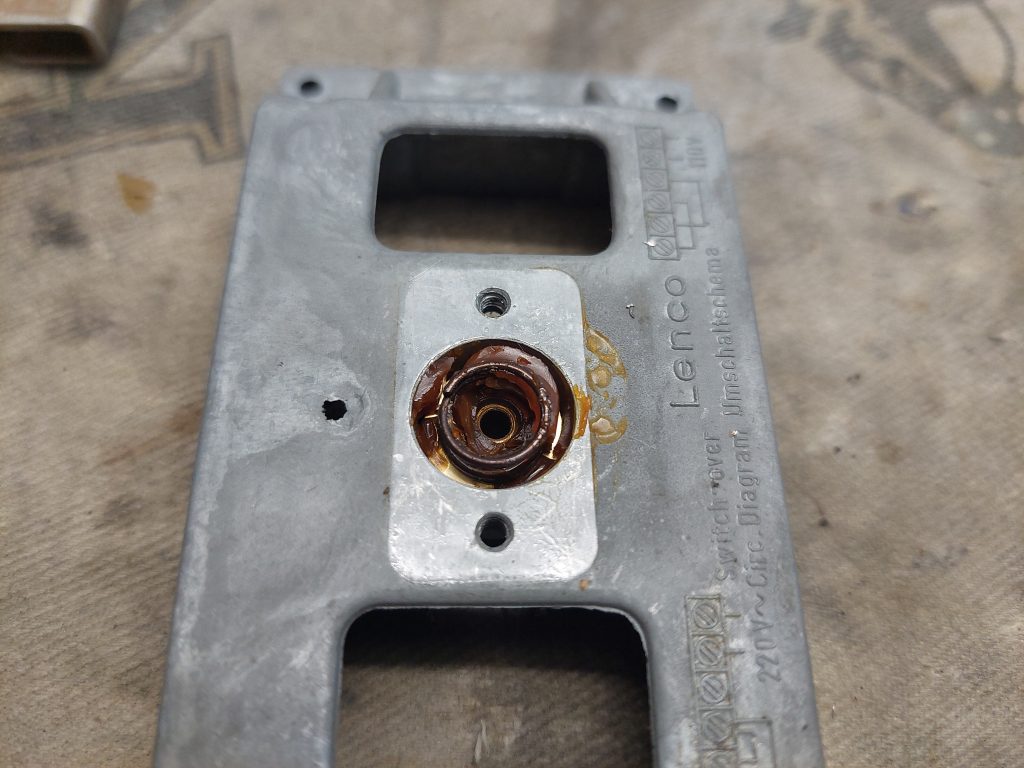
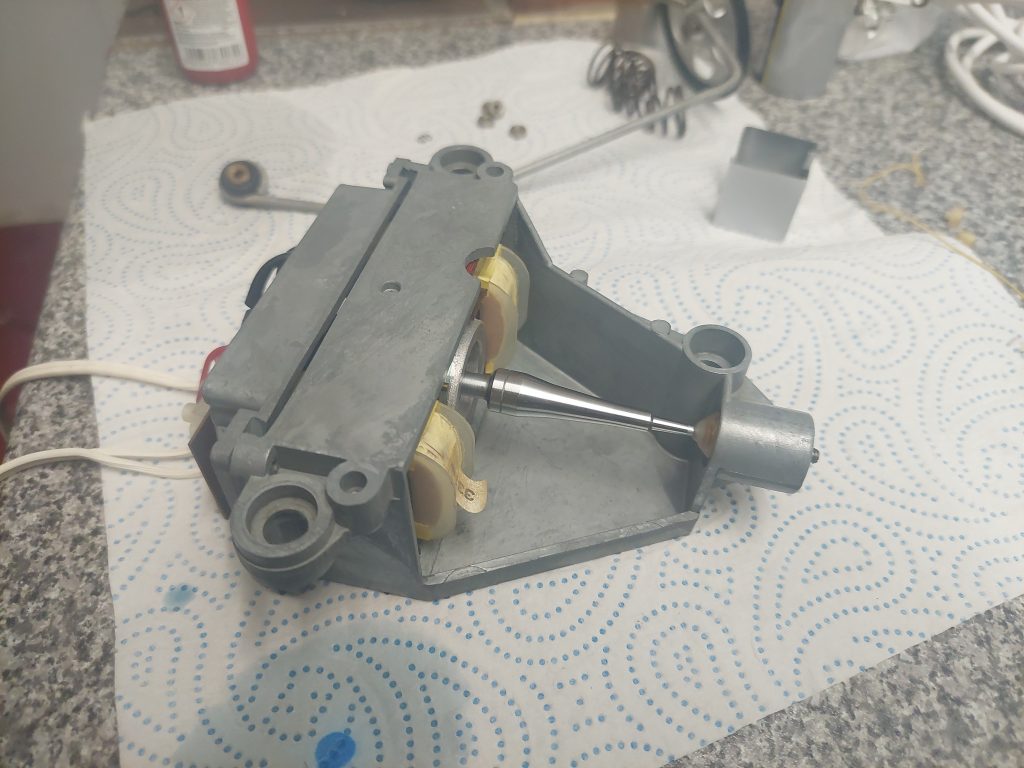
Once back together the motor can be given a few whacks with a mallet to properly align the rotor and bearings. The motor is then tested individually for quietness and true running.
These Lenco motors have adjustable end play. This needs to be measured then reset to that measurement once the motor has been resembled and tested.
Special attention is paid to making sure that the idler wheel is in good order.
When the whole turntable is back together all of the initial setup adjustments can be performed as per the turntable’s instruction manual.
The speed is calibrated using a mobile RPM measuring app. Each speed (16,33,45 and 78) has to be adjusted individually.
A lot of testing finishes off the restoration process.
Turntables take a lot of time to sort to a high standard. It doesn’t matter if the turntable is manual, automatic or an auto-changer, the common denominator is always time.
You simply can’t get away with a drop of oil here and there. See the dried grease in the photos above. You need to go through them with a fine tooth comb for the sake of long term reliability and performance.
The missing platter mat was replaced with a 12″, 3mm felt mat. I think it suits the turntable well.
The headshell was replaced by a brand new part pre-fitted with an Audio Technica AT3600L. It looks a lot better than the original, clunky looking headshell.
The AT3600L is my go to magnetic cartridge. They are brilliant performers.
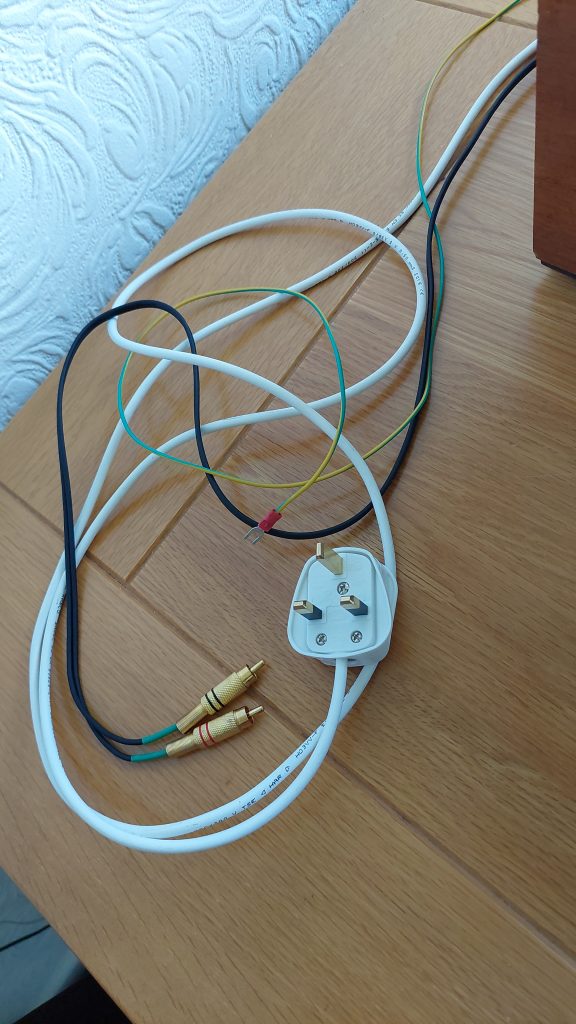
To finish off the turntable, all of the mains, earth and phono wiring was replaced with new wire and connectors.
The last job was to refinish the teak plinth. I recently ran out of both Danish and teak oil so I decided to use some decking oil from the shed. It’s likely to be all the same stuff. Smells the same!
Apply the oil to a wad of fine wire wool and give the cabinet a firm rub down. Let the oil soak into the cabinet for about 20 minutes before using a disposable cloth to wipe up any excess oil.
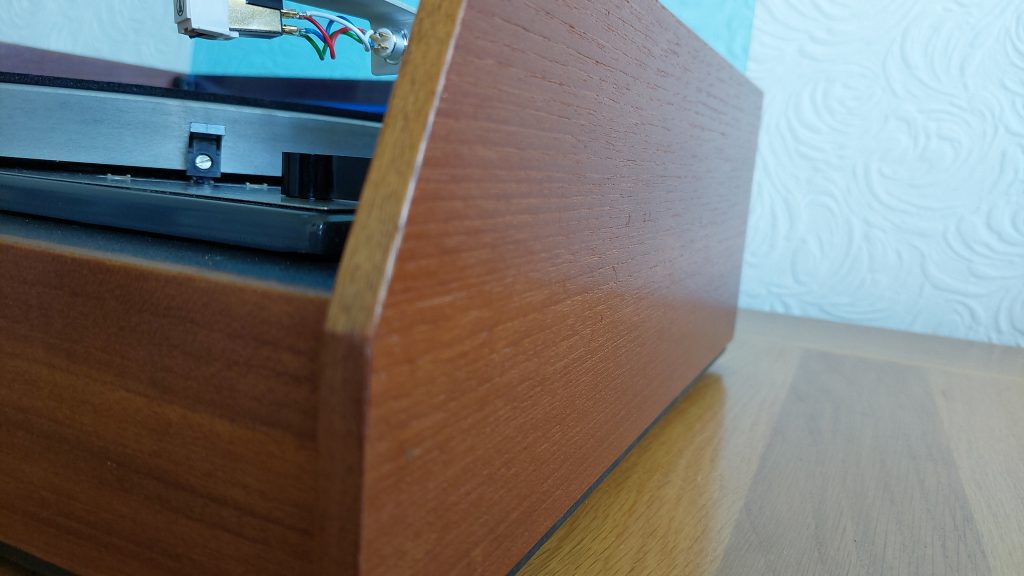
I find that this process gives a good looking finish and can be further enhanced with some furniture wax.
The perspex lid was lightly scratched. A rub down with TurtleWax polishing compound smartened things up.
Here is the finished result:
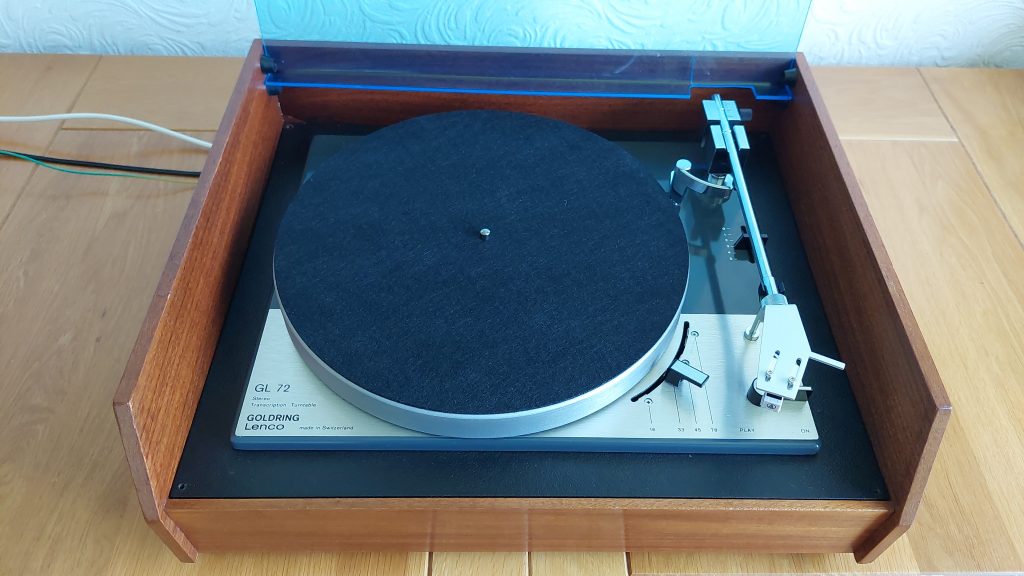
I’ve played a lot of records using this Lenco and I am impressed with the results. Definitely worth seeking these out!
That’s it for now,
C.T.H
Leave a Reply