
I bought this amplifier from Alan of Timewarp Sounds, Ashington on a ‘spares and repairs basis. I thought it would be an interesting project.
It is from 1987-1988 and one of Onkyo’s higher end integrated offerings. It has plenty of inputs and two tape loops if you are keen on recording to reel to reel or cassette tape. It also has composite video inputs so that you can connect more than one device to your old television. Handy in 1987, but useless now!
At 100W per channel, it’s the most powerful amplifier I’ve worked on so far.
Cosmetically, things were OK. The usual bangs and scrapes. The treble and balance knobs look like they’ve taken a bit of a knock and are a bit bent.
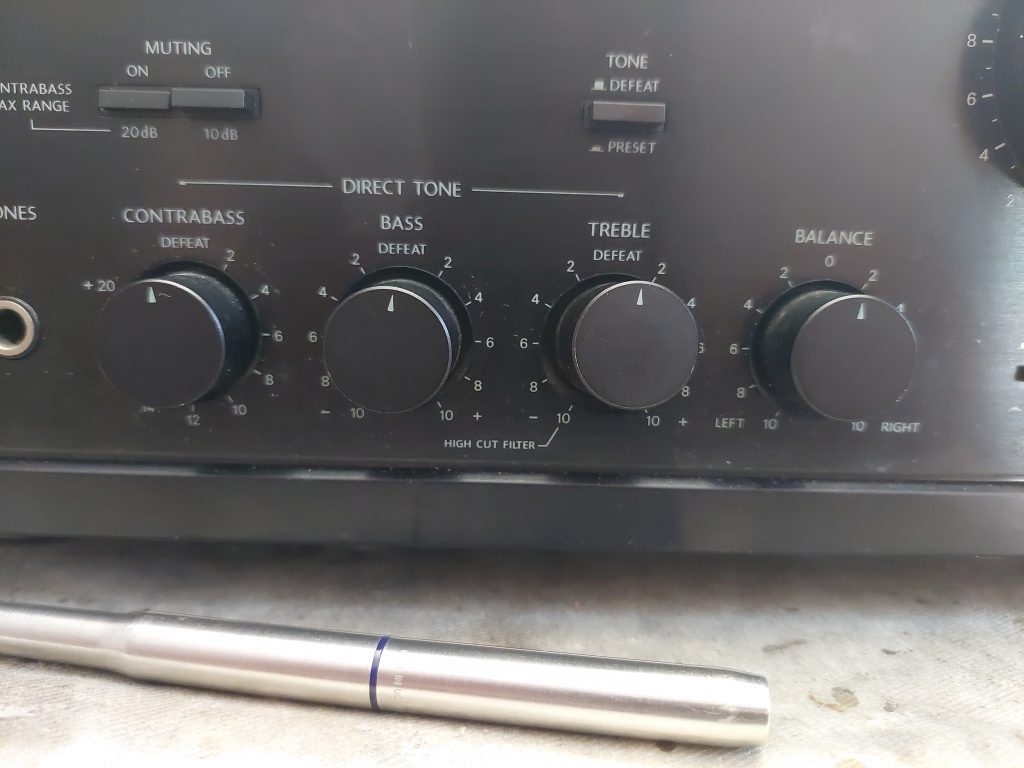
The tape and video switch knobs all spun on their shafts. Hopefully the switches are OK!
I also noticed that the volume control spins continuously. Not a good sign!
My initial testing started by plugging in a pair of sacrificial headphone and feeding a signal into the tuner input. The LHC was quiet while the RHC seemed to work fine.
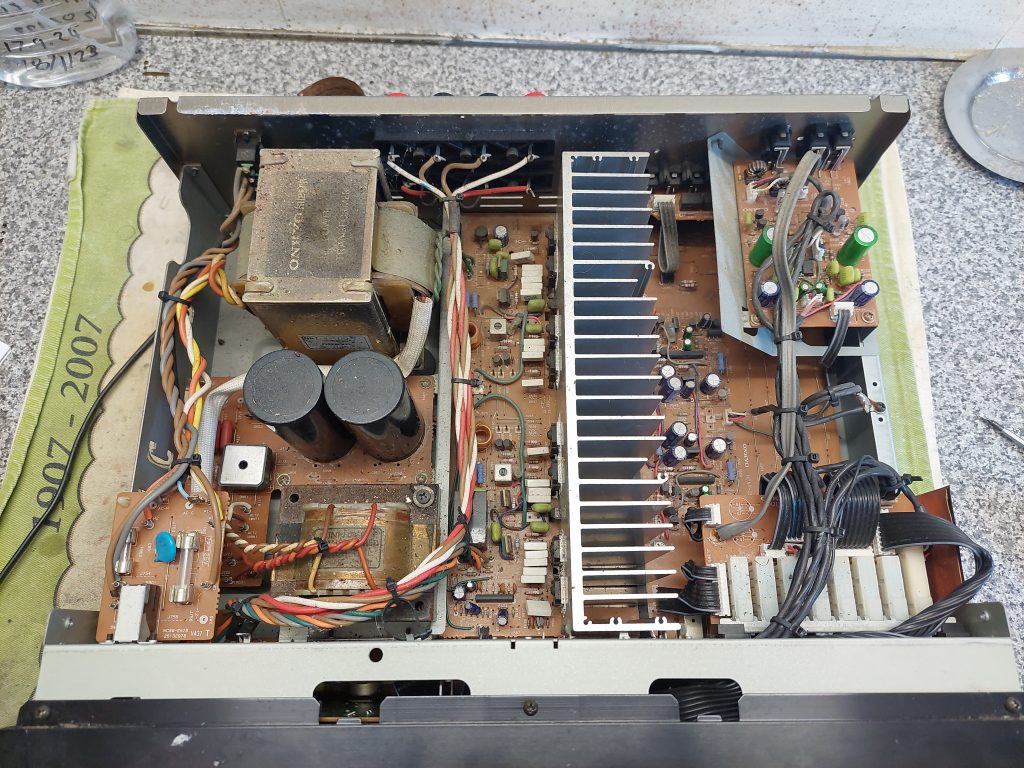
Once I established what the fault was I decided I needed to give the inside of the amplifier a good clean. It was pretty dirty and looked like it may have been stored in a shed or garage for a long time. A thorough dusting with a series of soft bushes and a hoover removed most of the debris. The old Hoover Portapower I use for this has a handy blow function which goes a long way to vanquish hard to reach dust.
I wanted to clean under the tuner, CD and phono input board. It’s a good thing I did because I noticed that the CD input RCA connector had some broken solder connections. These were easily re-soldered.
When the initial cleaning was finished I was ready to start the fault finding process.
I started by reconfirming the fault. Yep, no LHC.
Now I needed to isolate the location of the fault. Was in in the power-amp or pre-amp?
I fed a signal into the CD input and pushed the ‘CD’ button, no LHC. Pushing the ‘CD Direct’ button brought back both channels!
Why would the missing channel come back with the ‘CD Direct’ button pressed?
According the the instruction manual for the A-8190, the ‘CD Direct’ feeds the input signals directly into the power-amp stage, completely bypassing the pre-amp. The only part of the pre-amp that is left in circuit is the volume control.
This confirms that the issue is within the LHC pre-amp.
I spent a little bit of time looking at the service manual as I planned my next move.
During this time I wondered if the fault was mechanical rather than electrical?
I powered up the amplifier, setting the input to ‘CD’. I noticed that if I manipulated the balance potentiometer in a certain way, the LHC would come in and out. This was a promising lead.
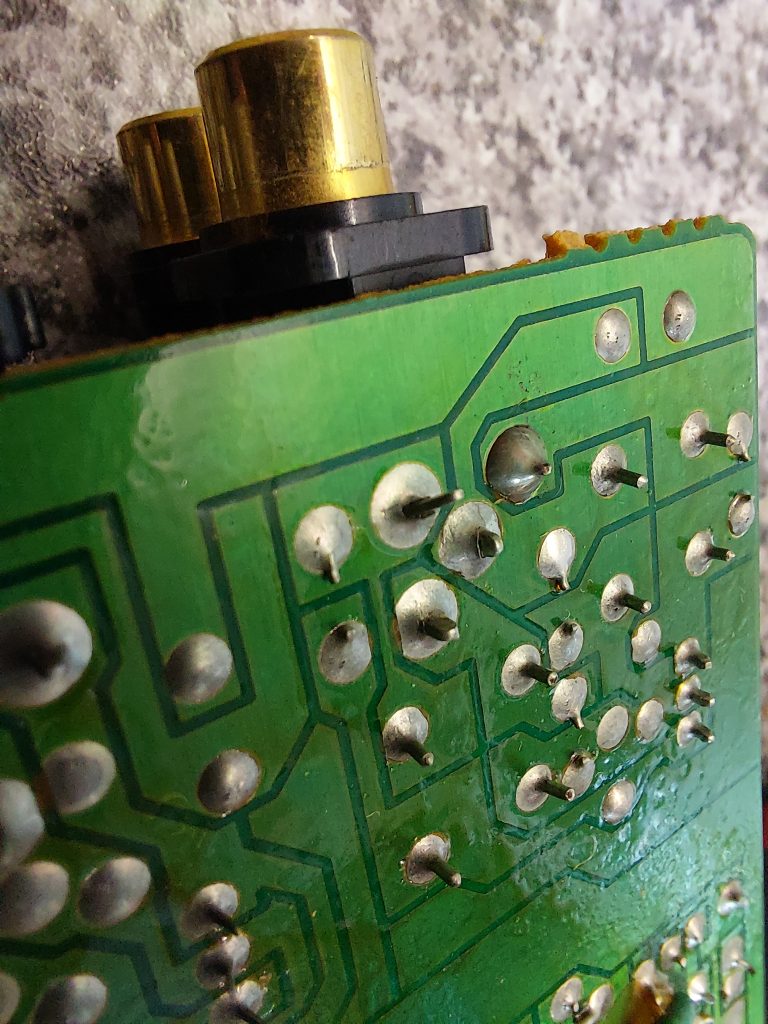
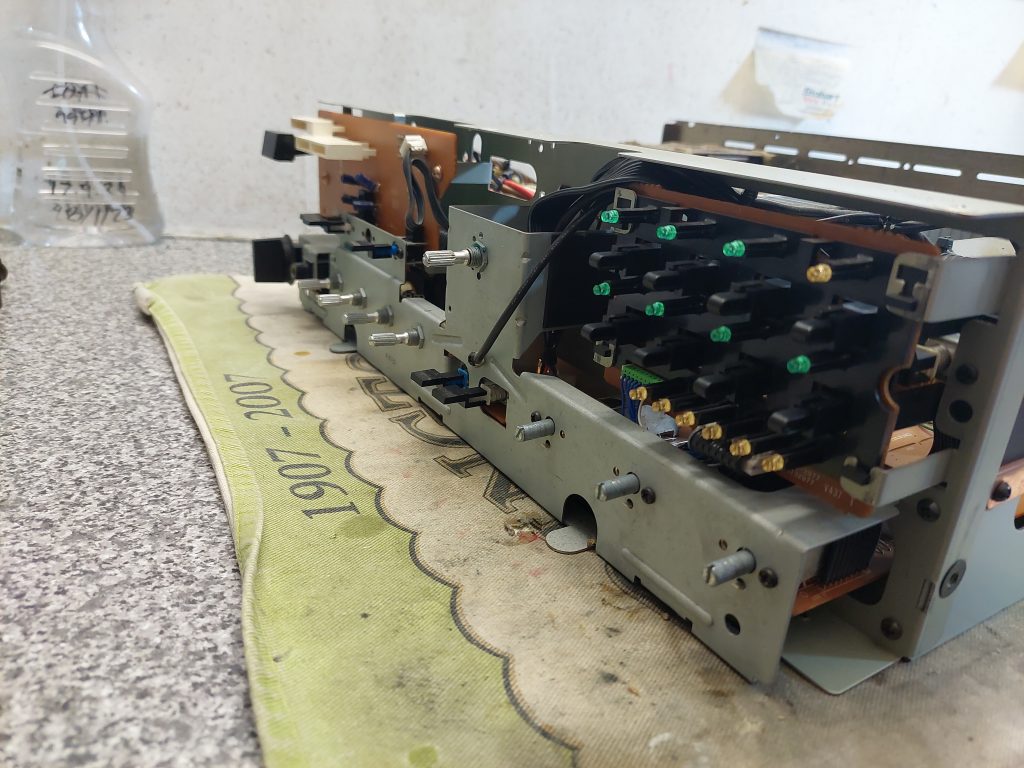
To access the potentiometer loads of screws needed to be removed. The metal bracket can be removed to reveal a long PCB where all of the potentiometers are soldered.
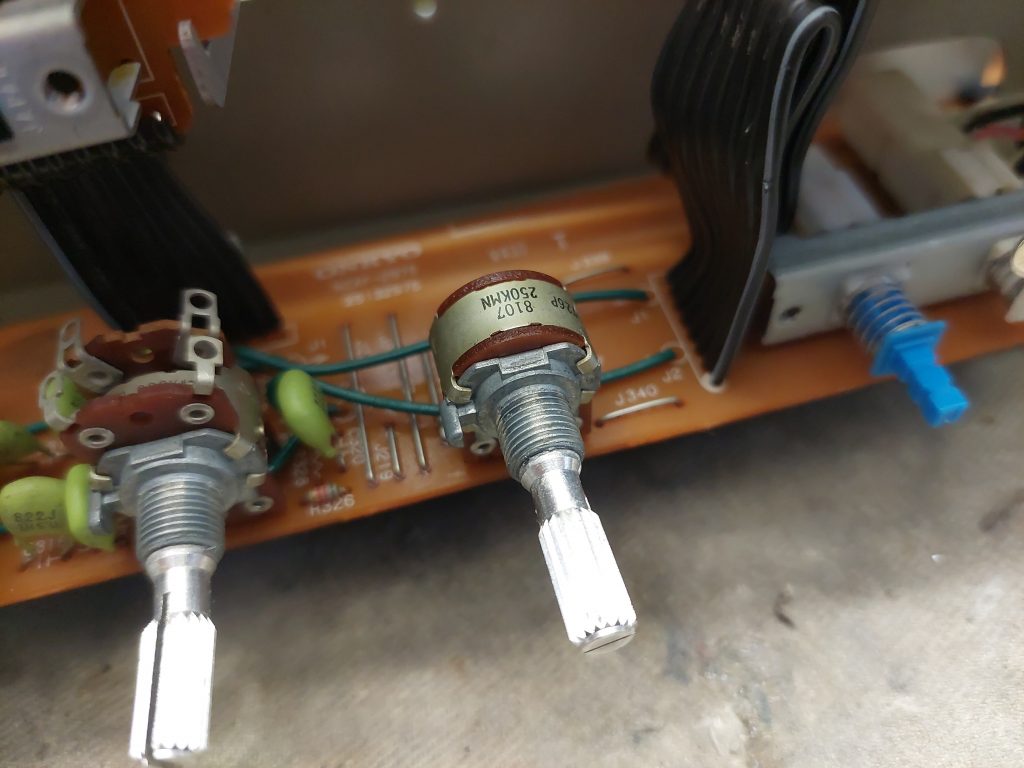
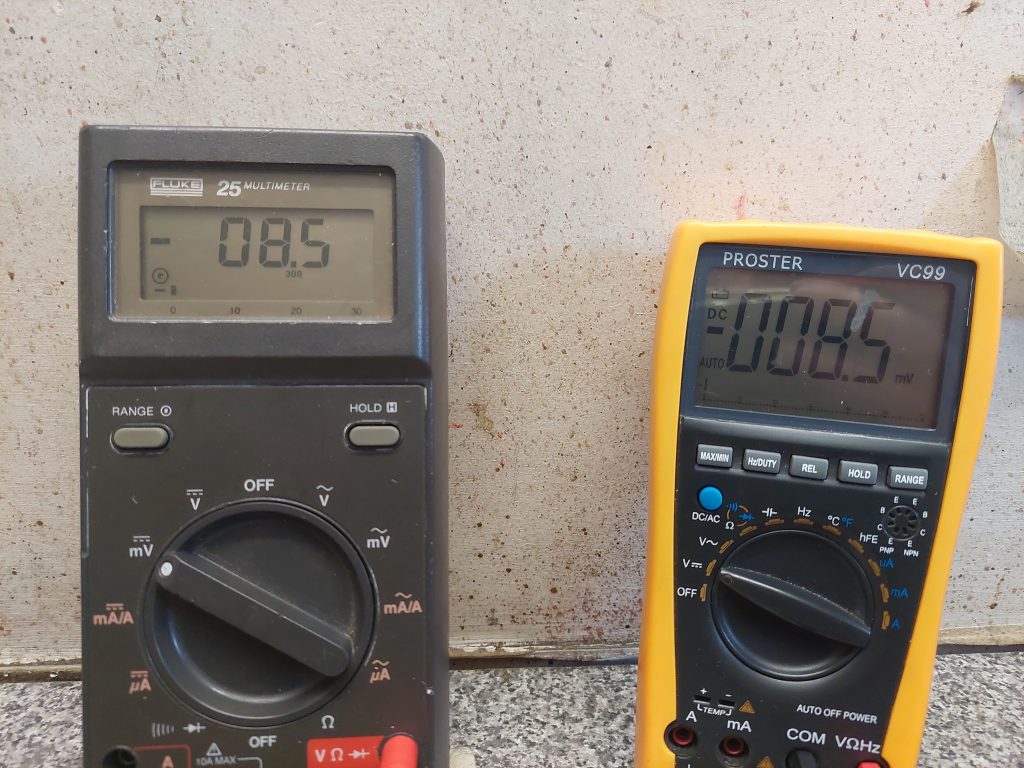
After the balance potentiometer was removed it was given a good clean with contact cleaner. Testing with a multi-meter revealed that everything worked as it should. I was pleased that the pot did not need to be opened or replaced!
After re-fitting the potentiometer I took the opportunity to clean all of the amplifier’s many pots and switches. All of the rear RCA connections were cleaned too.
Thankfully, the spinning knobs were just a matter of loose grub screws. They were all 2mm Allen screws.
I also investigated the continuously rotating volume control. It looks like the internal ‘stop’ was broken, probably due to a heavy handed past owner twisting things until it broke. The volume control does work fine, so I’m not worried about this. As long as a future owner does not foolishly twist the knob the wrong way when listening to music, your speakers will thank you!
The bent treble and balance potentiometer shafts were given a slight tweek to straighten them out.
Once this was sorted, I put everything back together for another test.
The LHC was now fully operational! The issue turned out to be a particularly dirty balance control.
I let the amplifier warm up for an hour before I set the idle current.
Once I was satisfied that all was well, I attached my Mission 761 test speakers to the amplifier and left it to play Serenade Radio to itself. I came back after a dozen hours and things were still sounding great.
During the testing period, I cleaned up all of the front panel parts. The fascia, knobs and top casing were washed with soap and water to remove any dirt. A light pass with Brasso helped give things a light sheen. Everything was given a good rub down with Mr Sheen.
The amplifier was put back together once all the testing was complete.
I’m very happy with the results of this restoration. It is now a great looking and excellent sounding amplifier!
That’s it for now,
C.T.H
Leave a Reply